
Window-Mounted Smart Fan Array // A Bespoke Climate Control Build
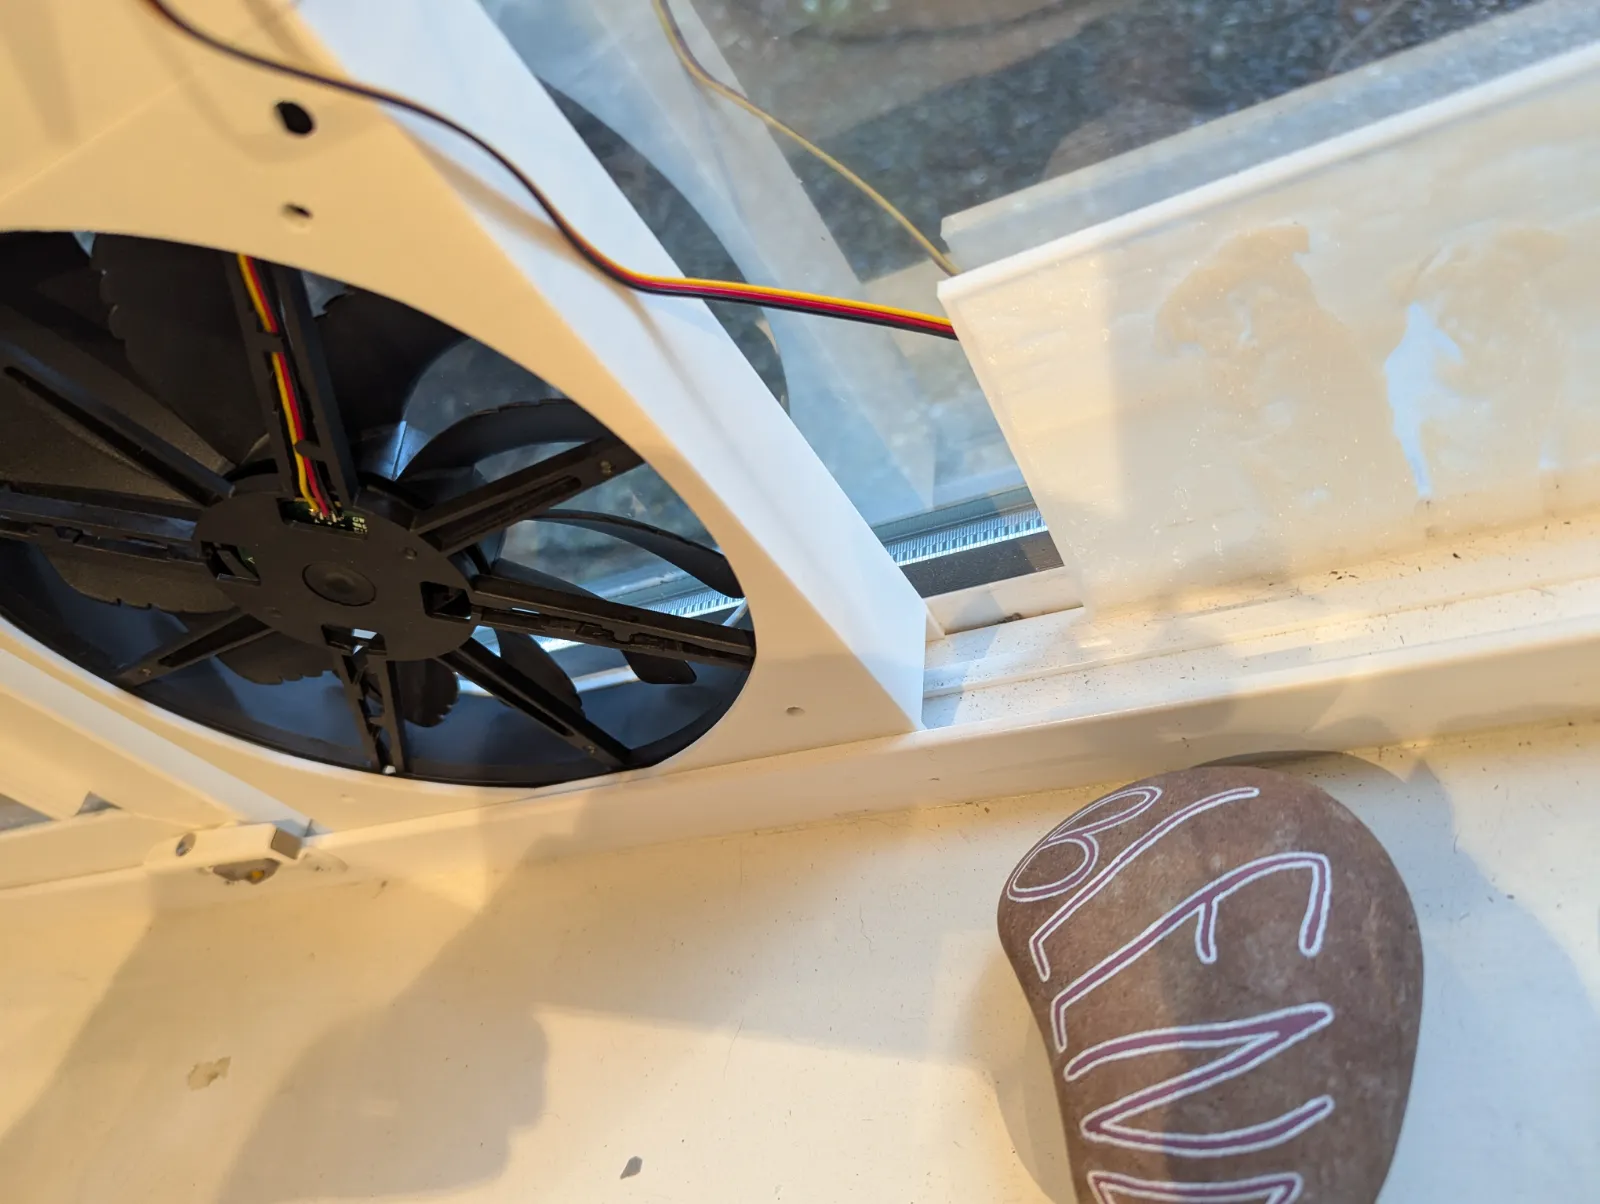
I’m excited about this project I’ve been playing with for the last year. I just got done with the second iteration, and I’m pretty happy with it. I spend a lot of time in my workshop or laboratory, as I call it, and I also work in that space. This small room got really well organized, but there’s still a lot of 3D printers, laser cutters, robots, just machines in there, and then lighting and computers create a lot of heat. I needed to figure out a way to keep this room a little bit cooler, and based on where the window is, it’s out of the way and it’s a slot sliding window. It needed to be quiet, since I work from home and I’m on a lot of Zoom calls.
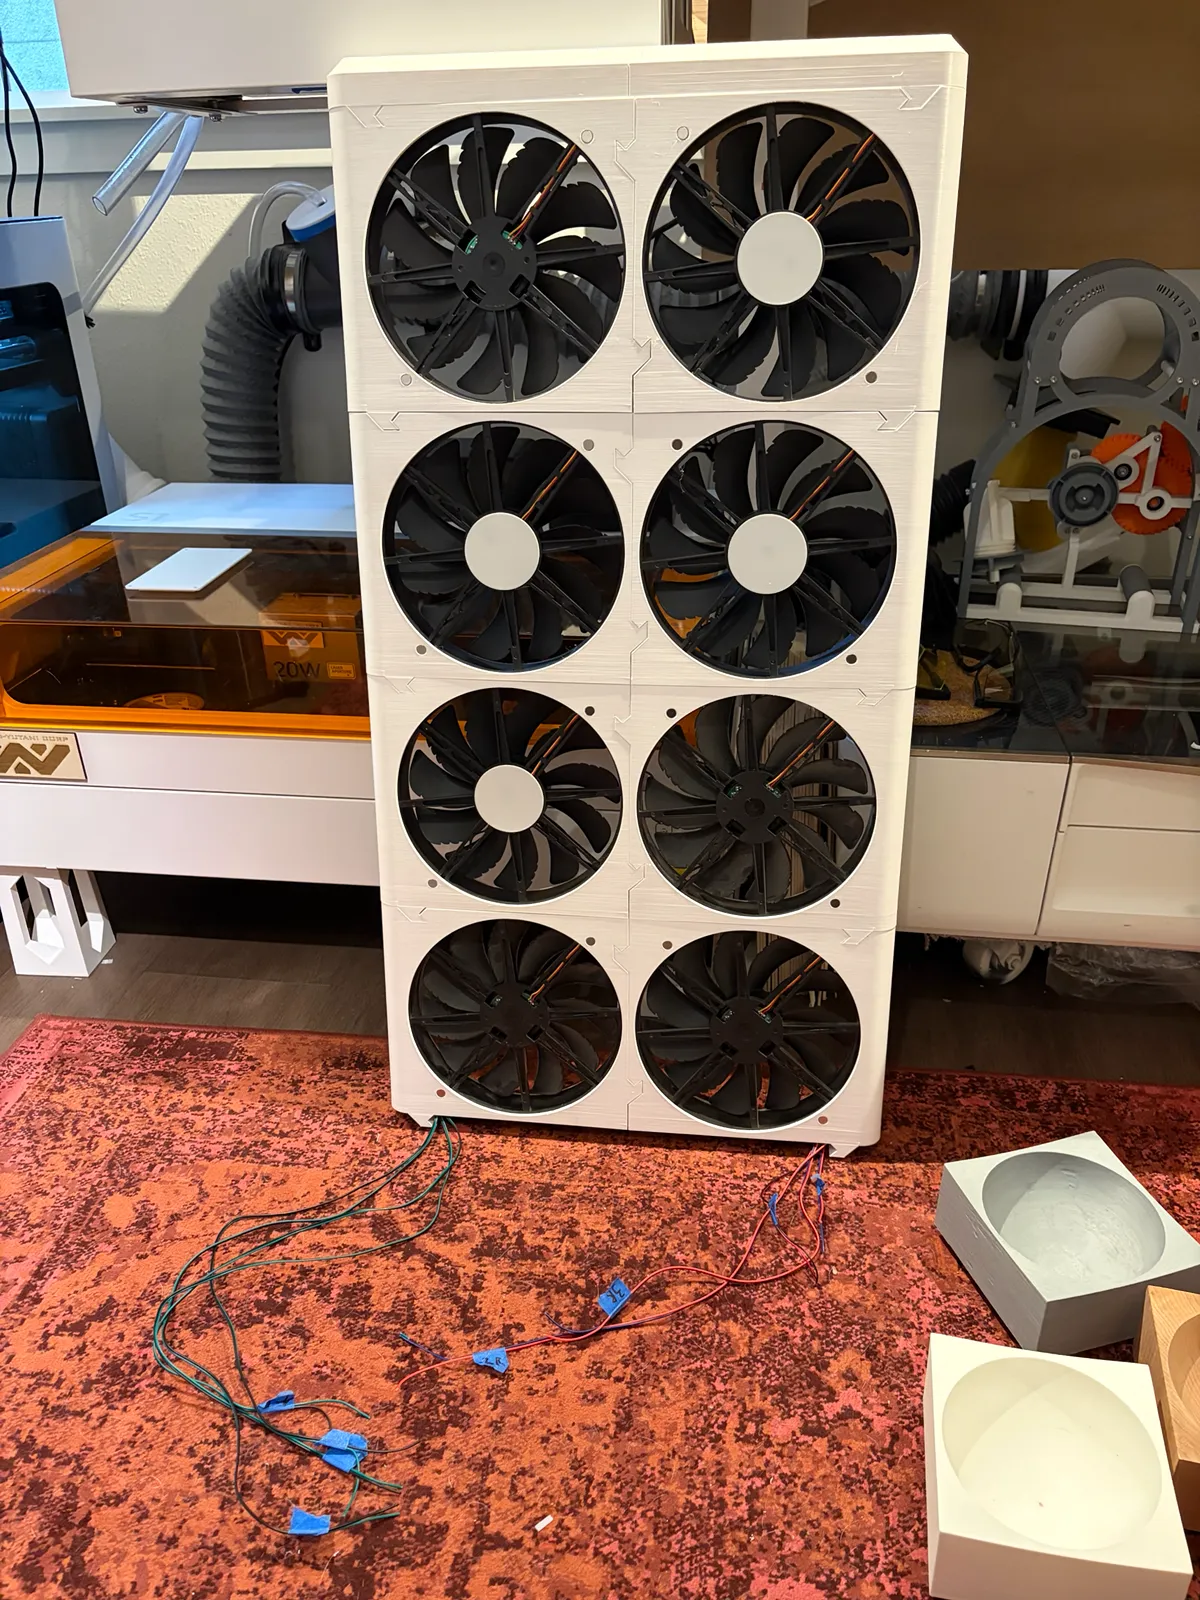
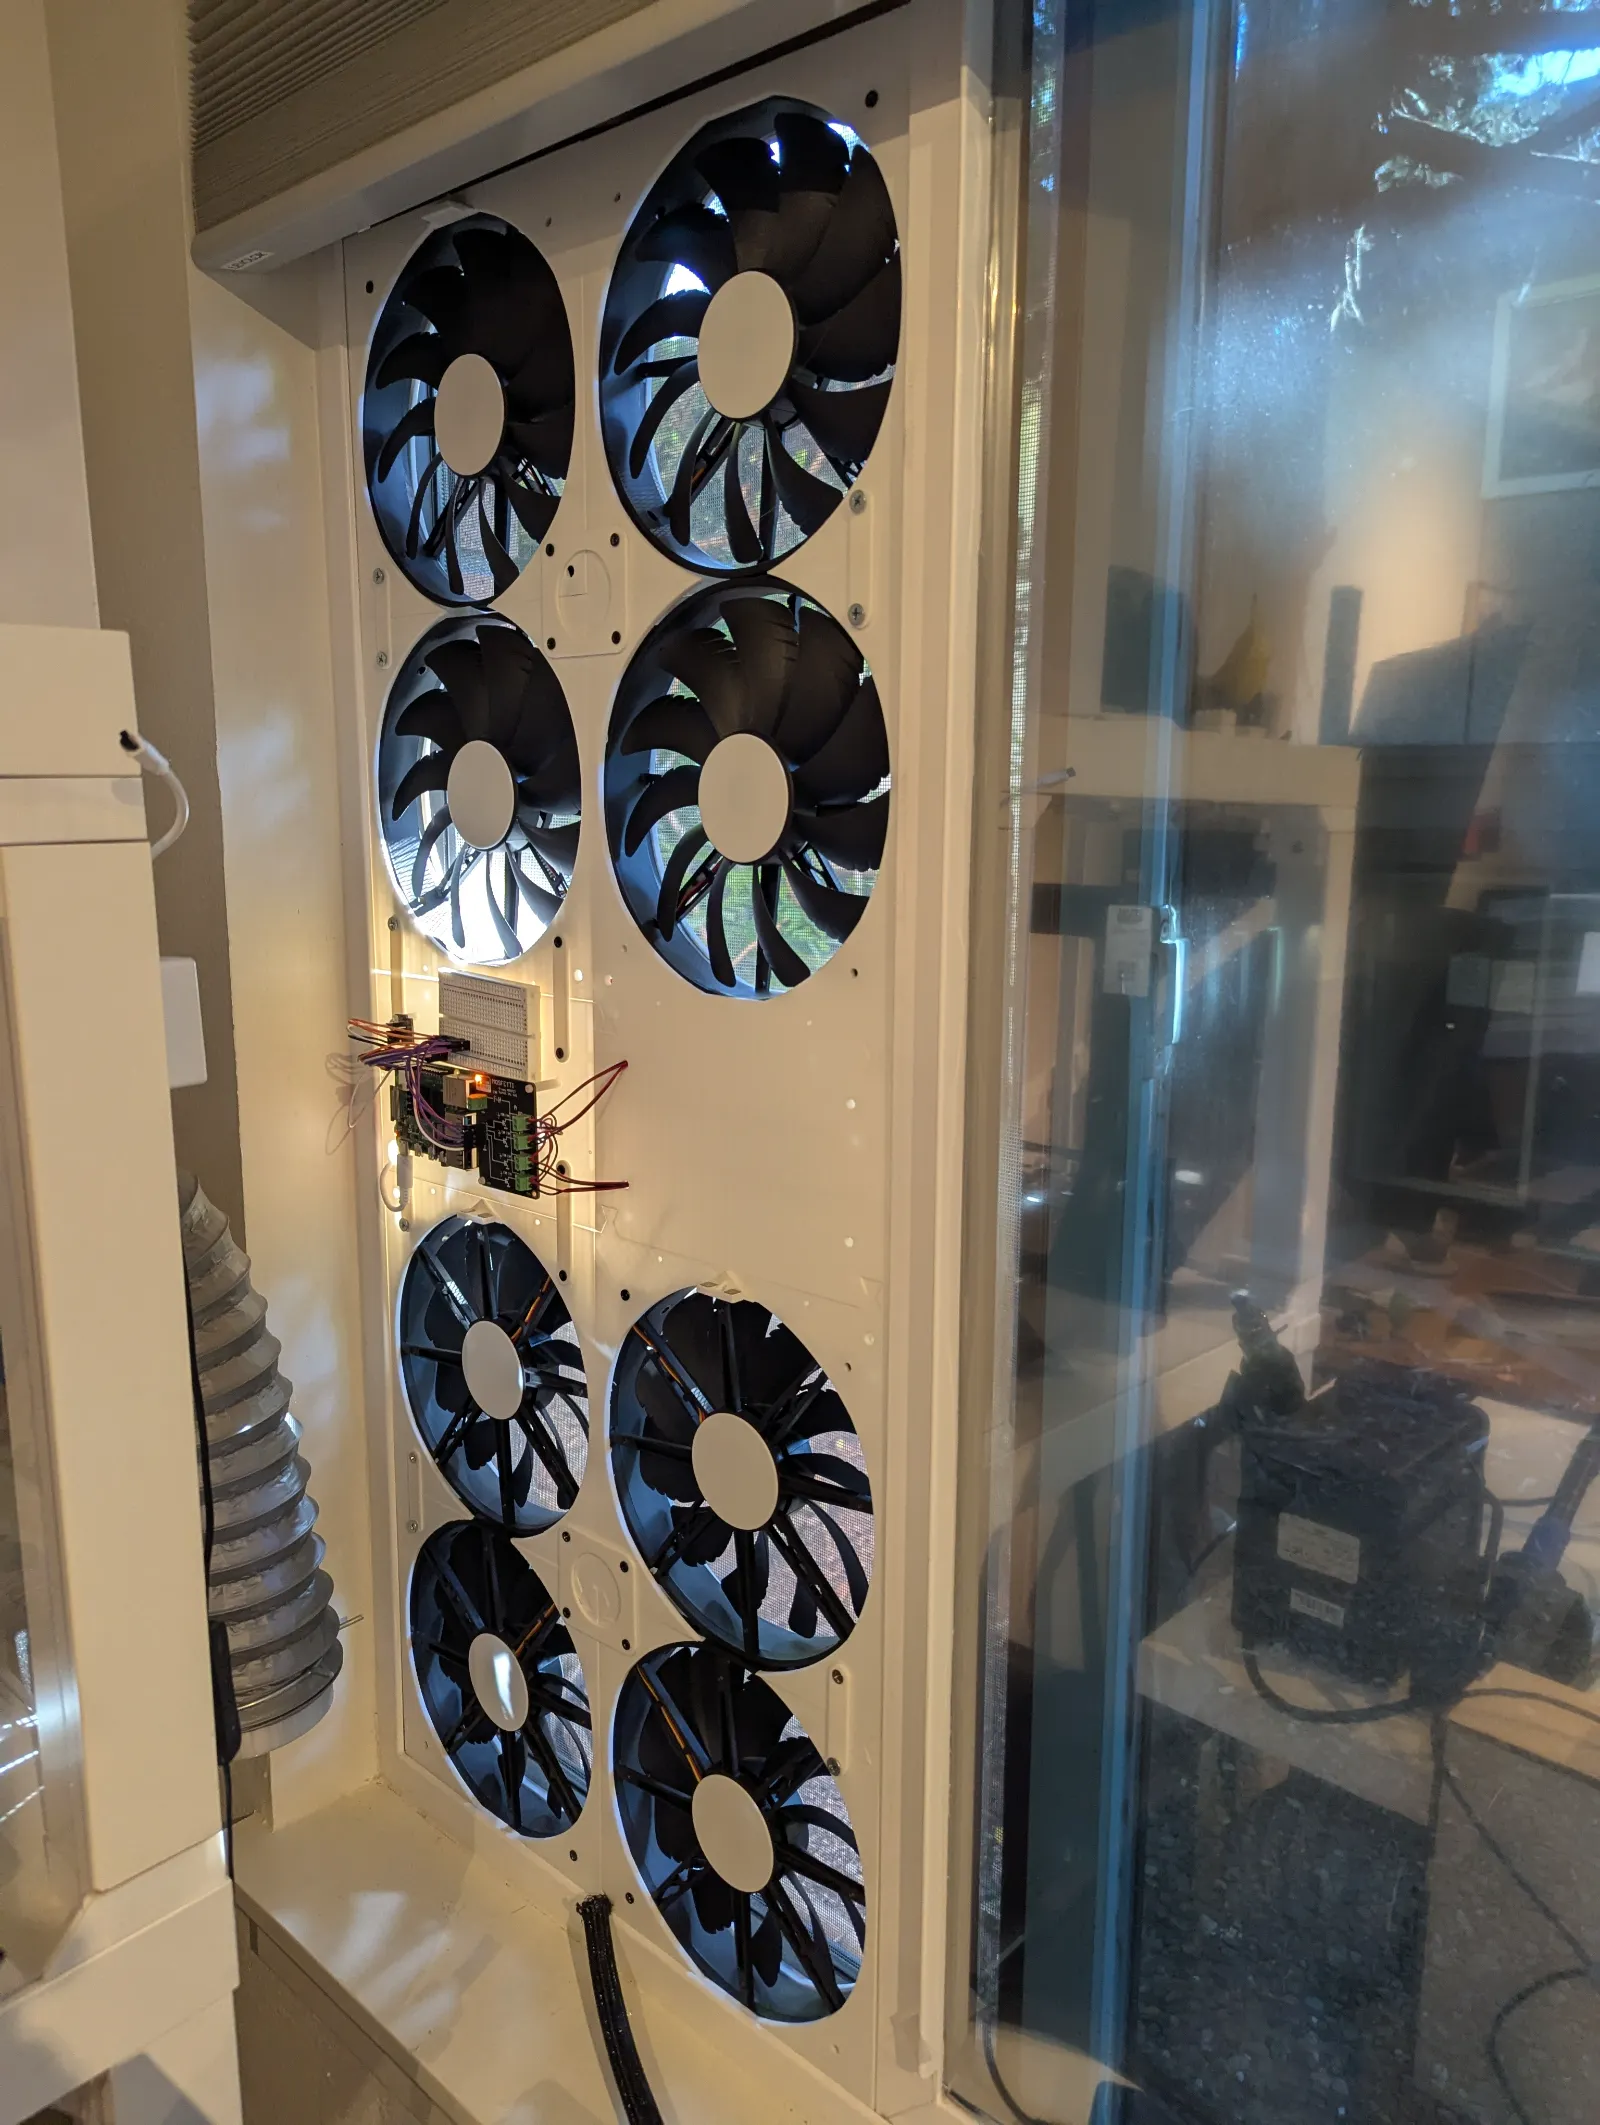
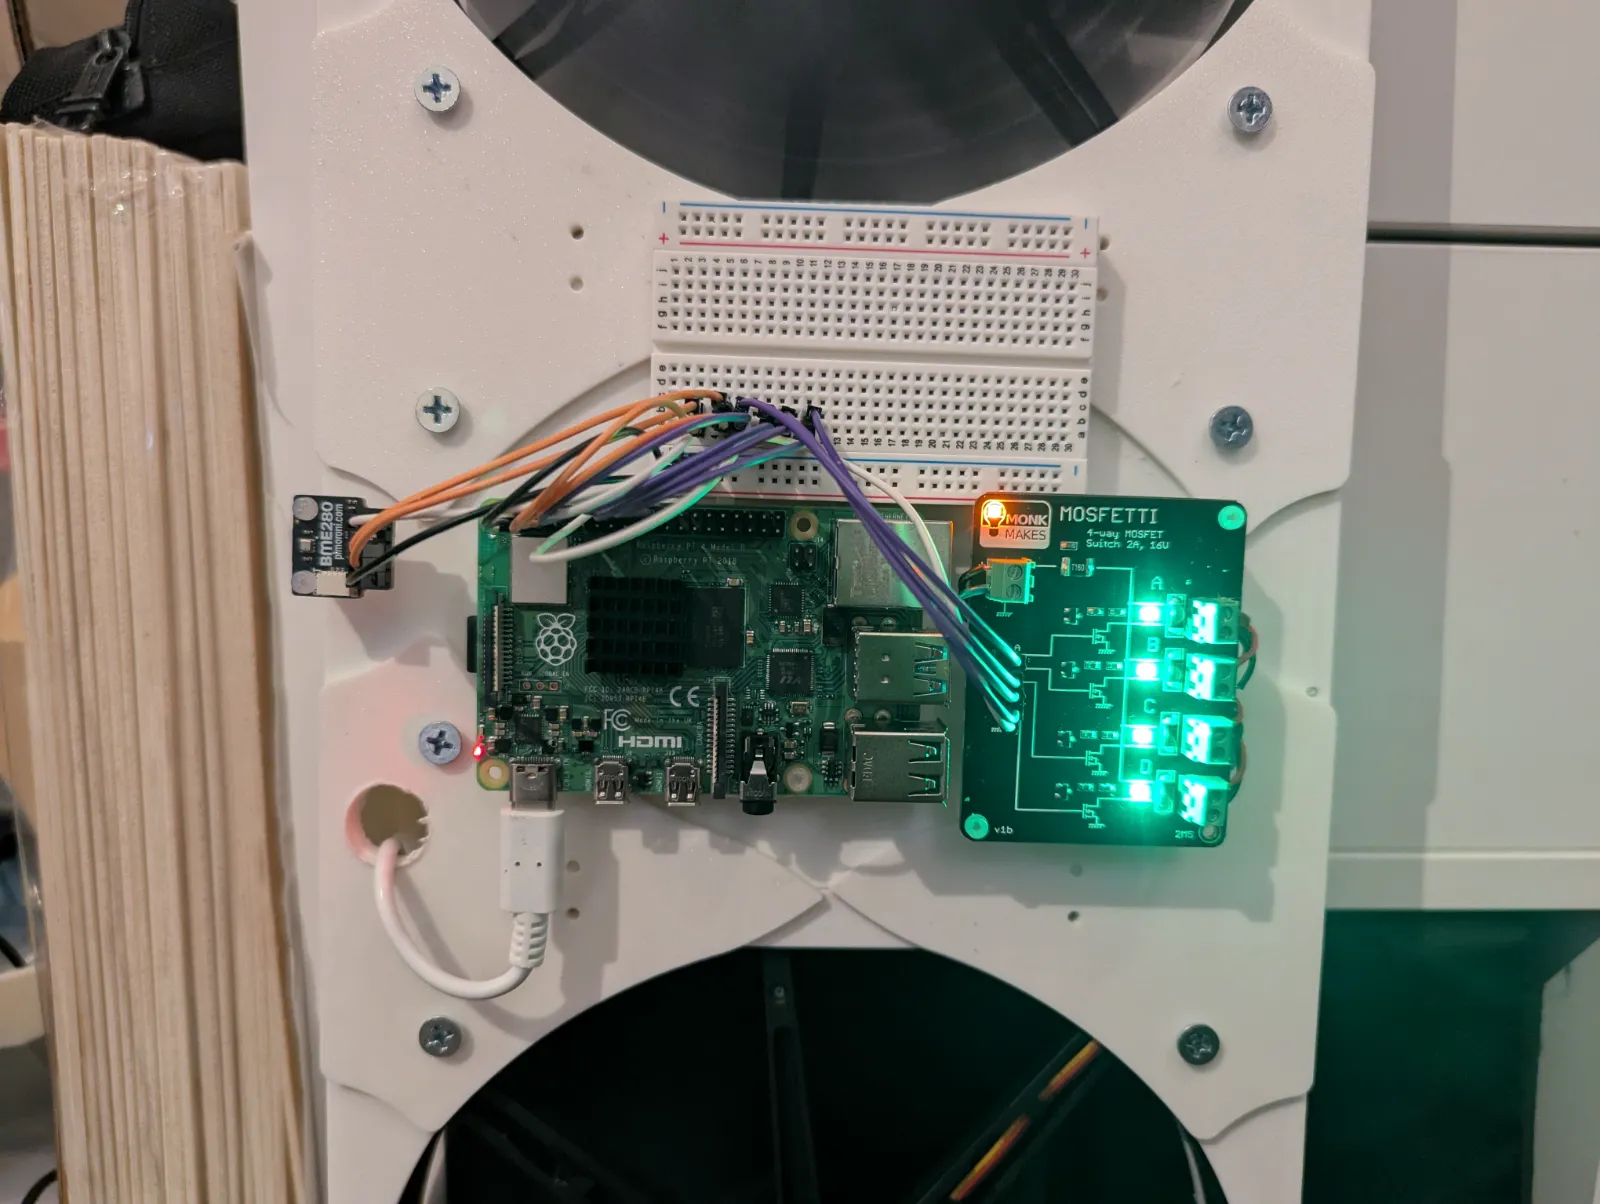
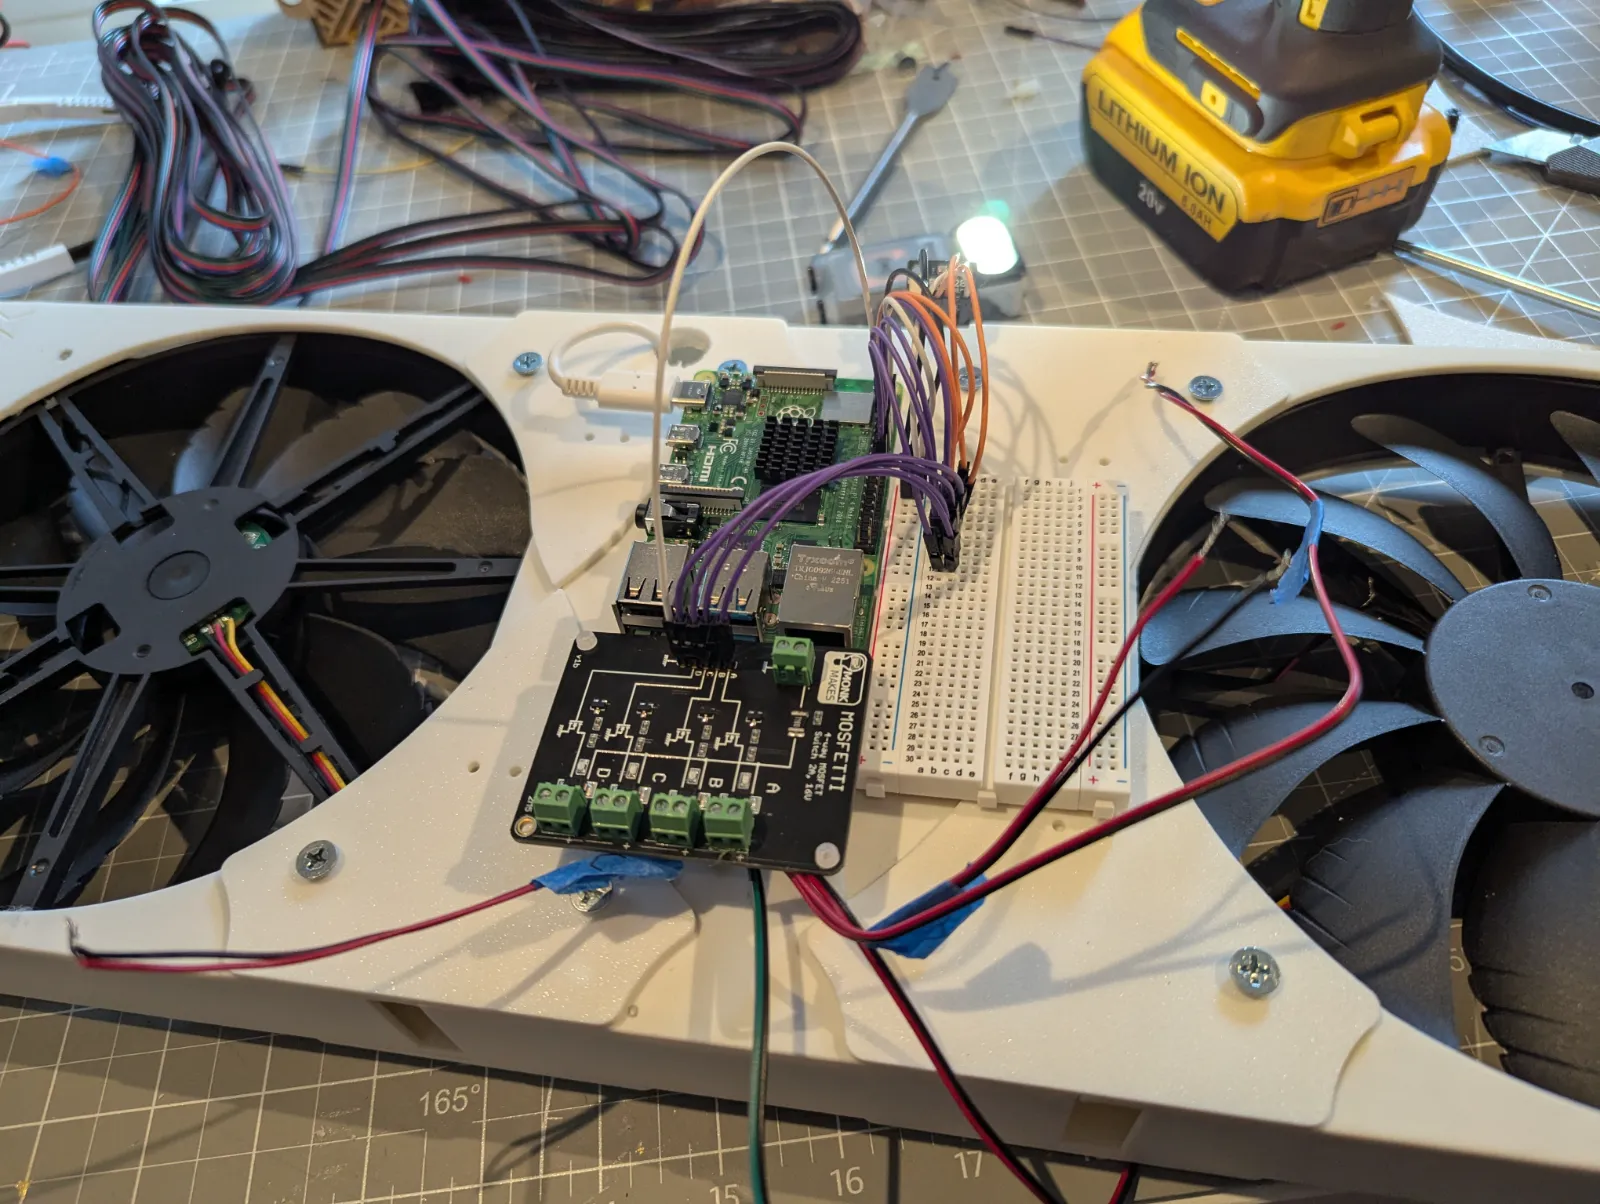
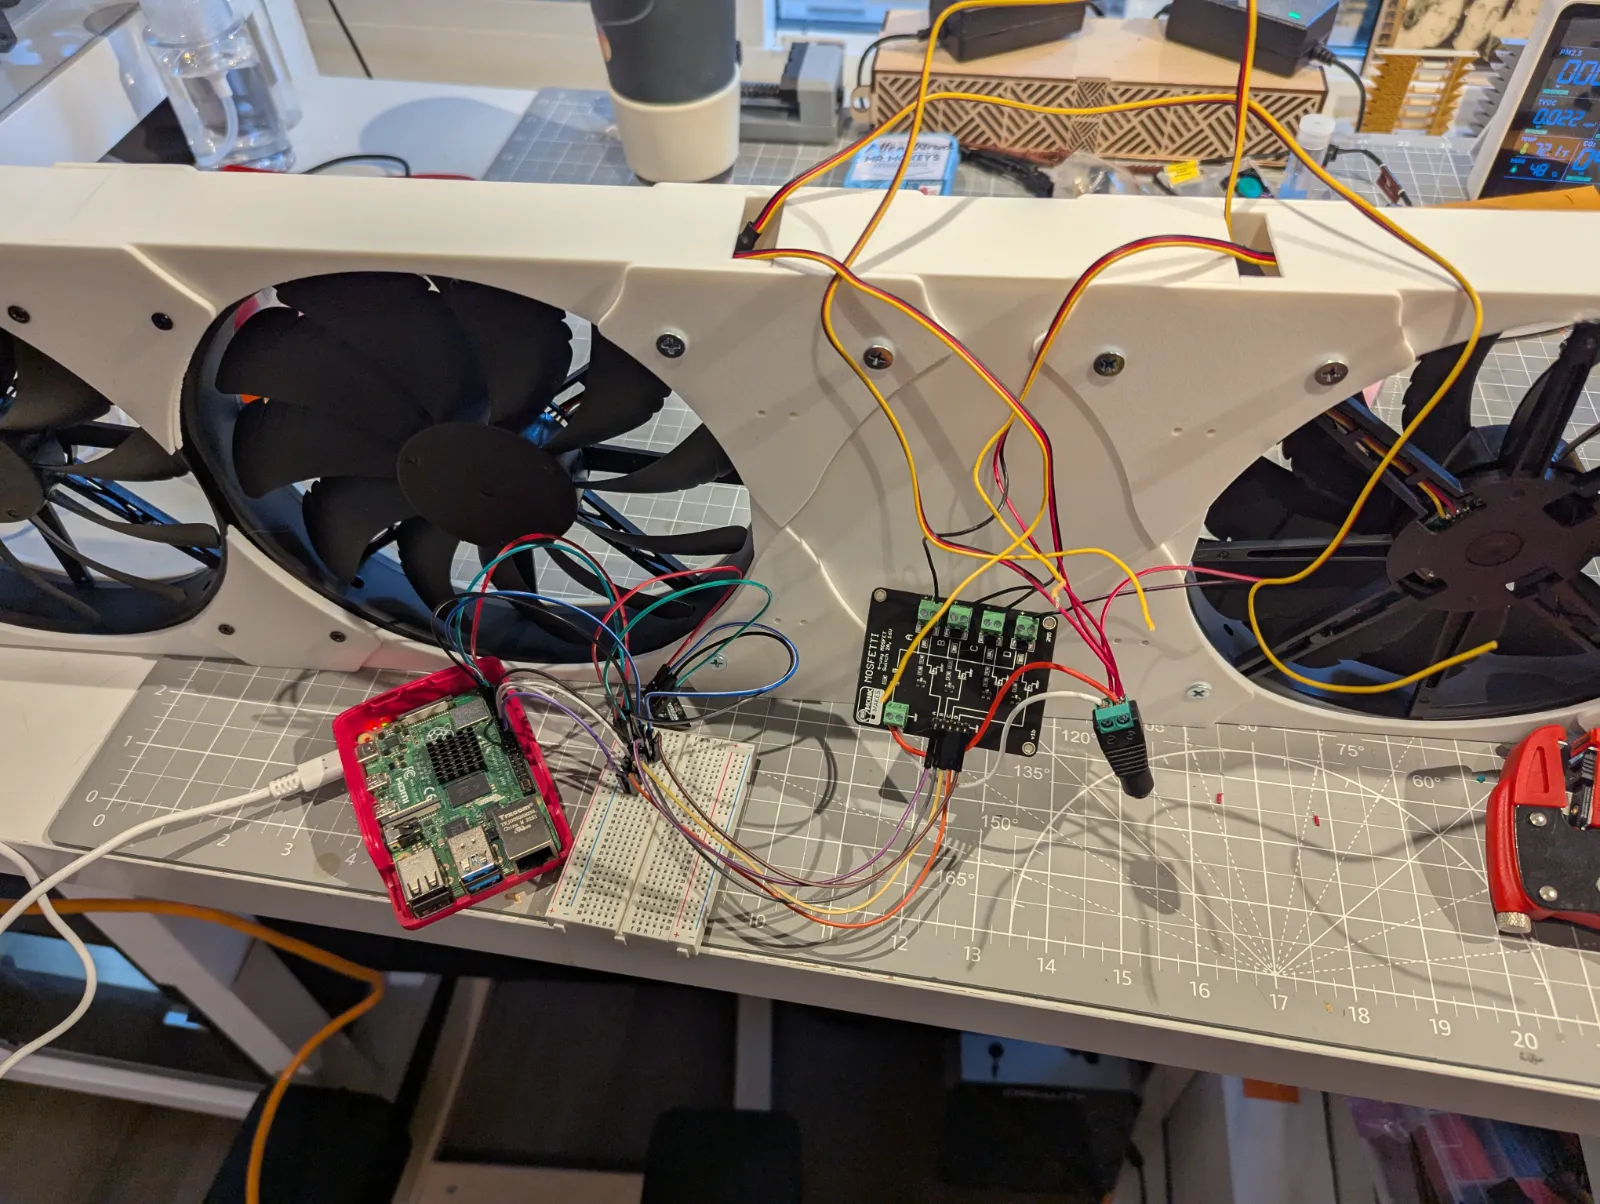
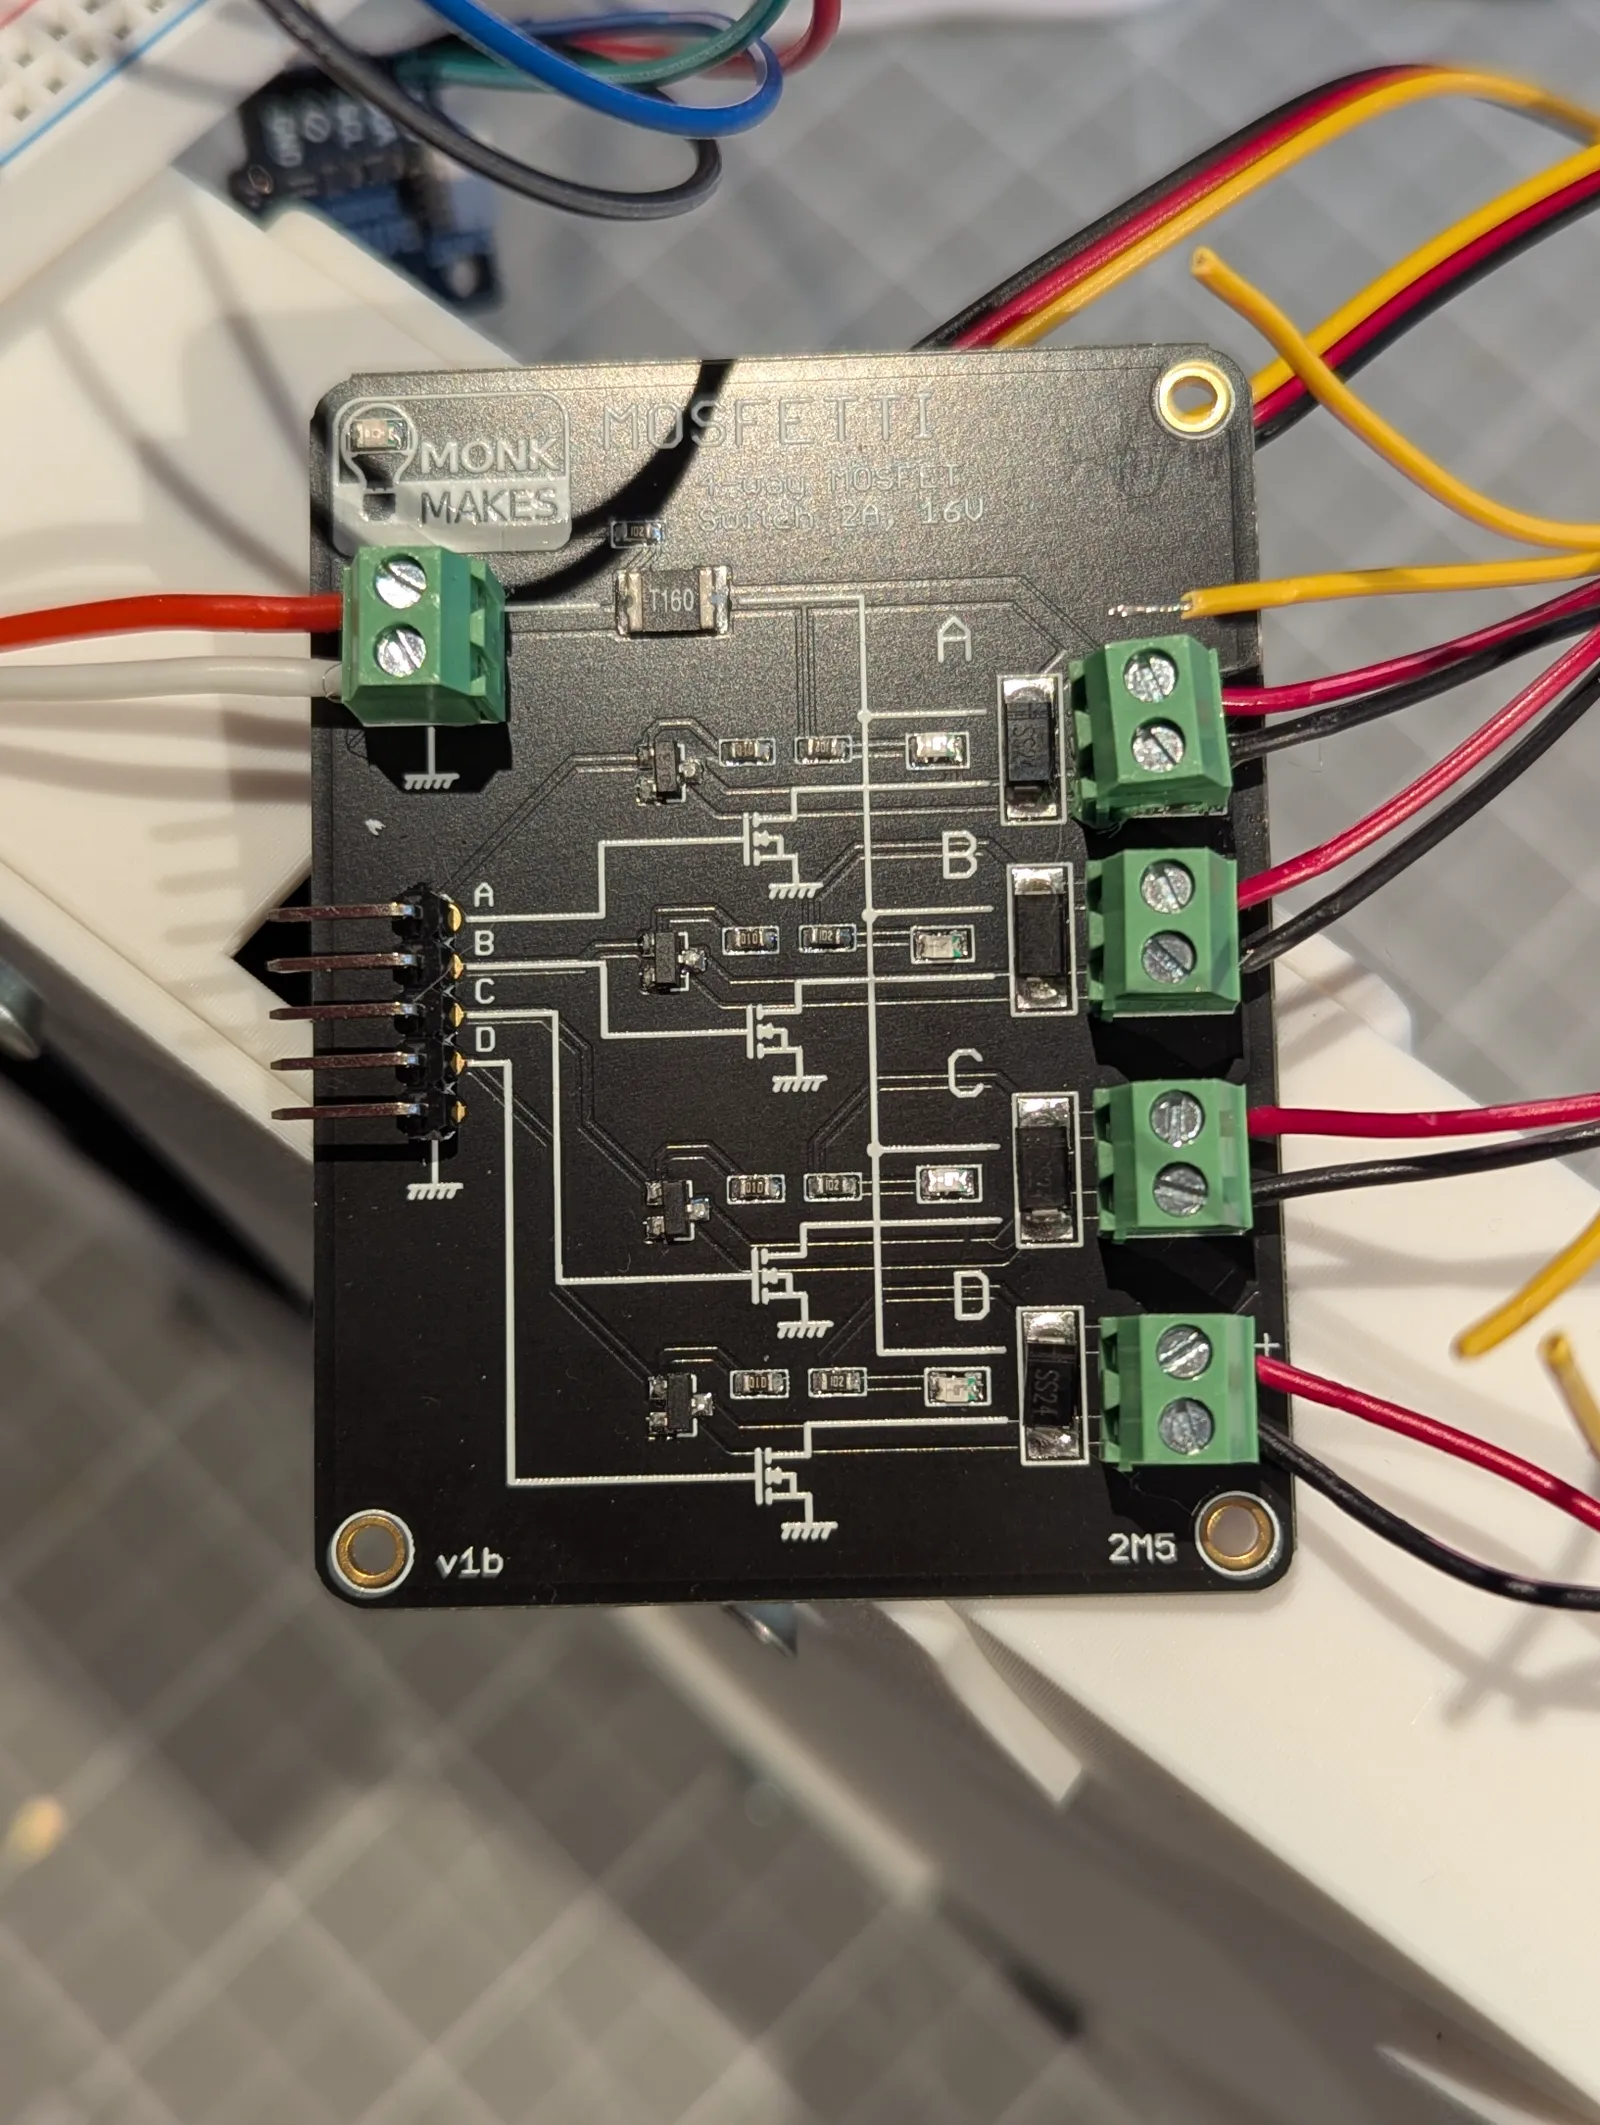
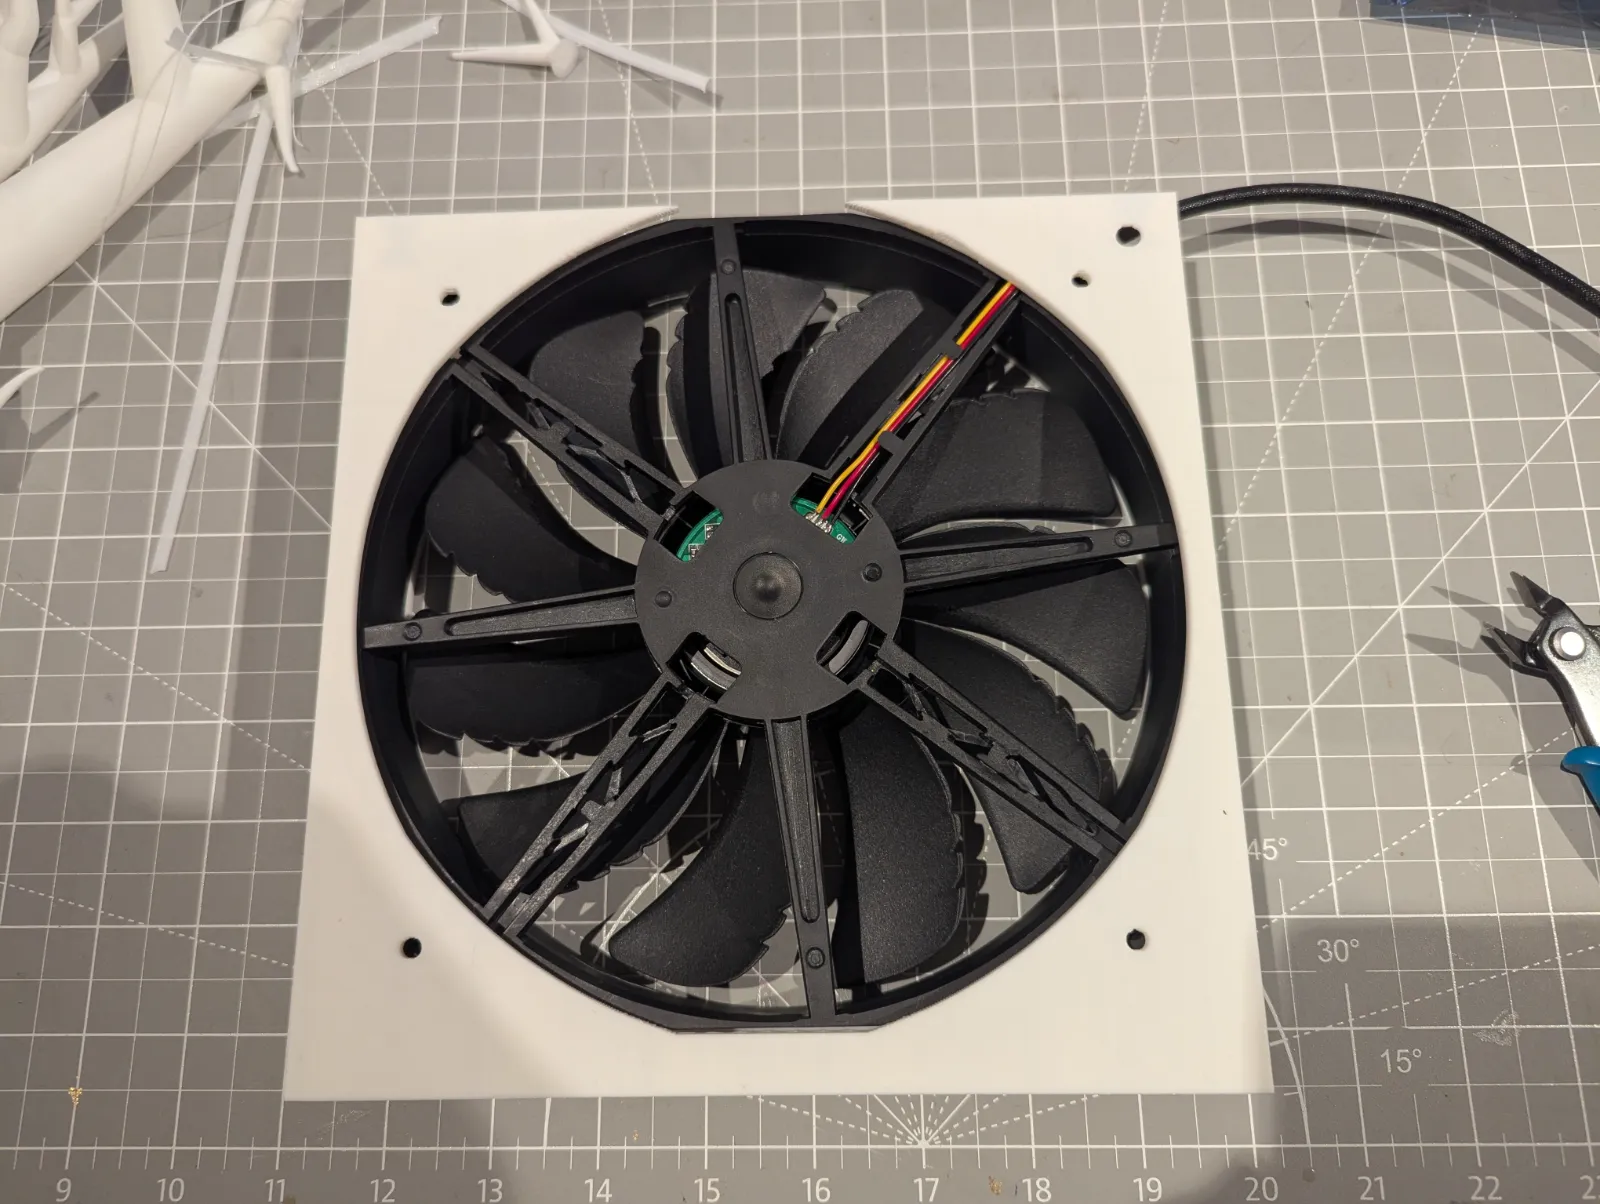
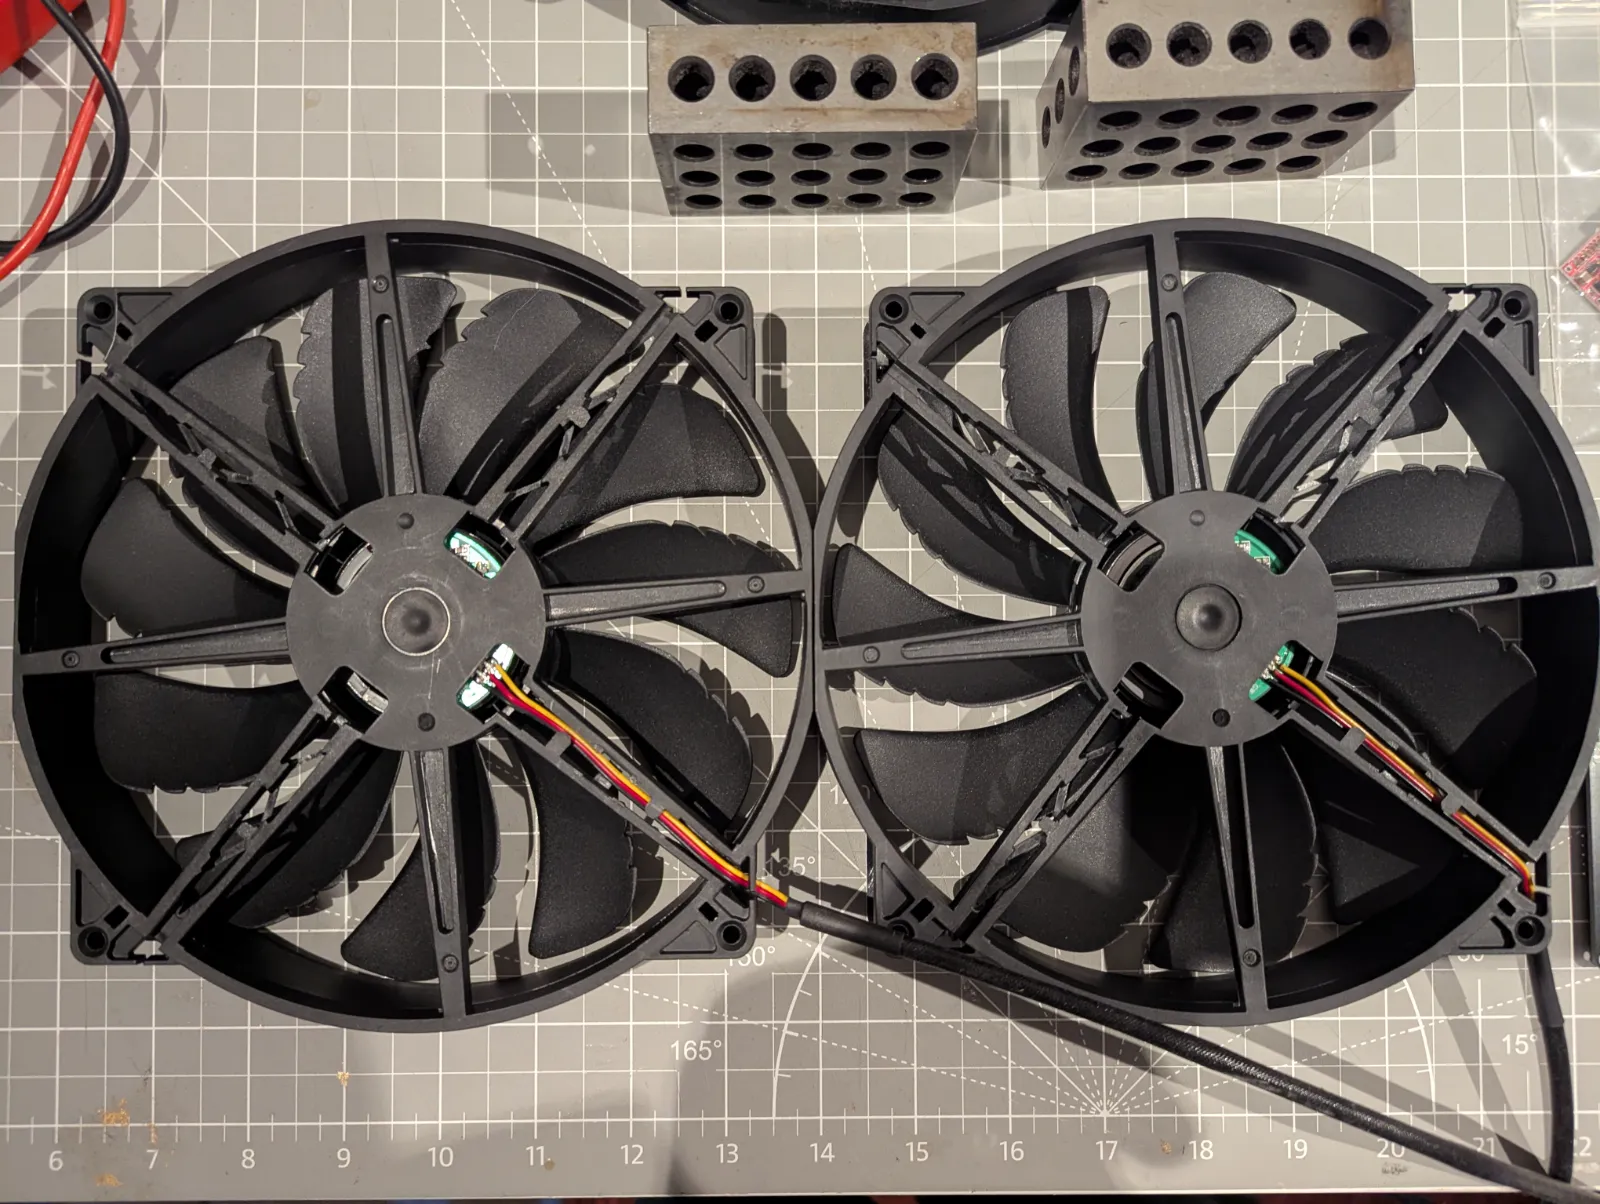
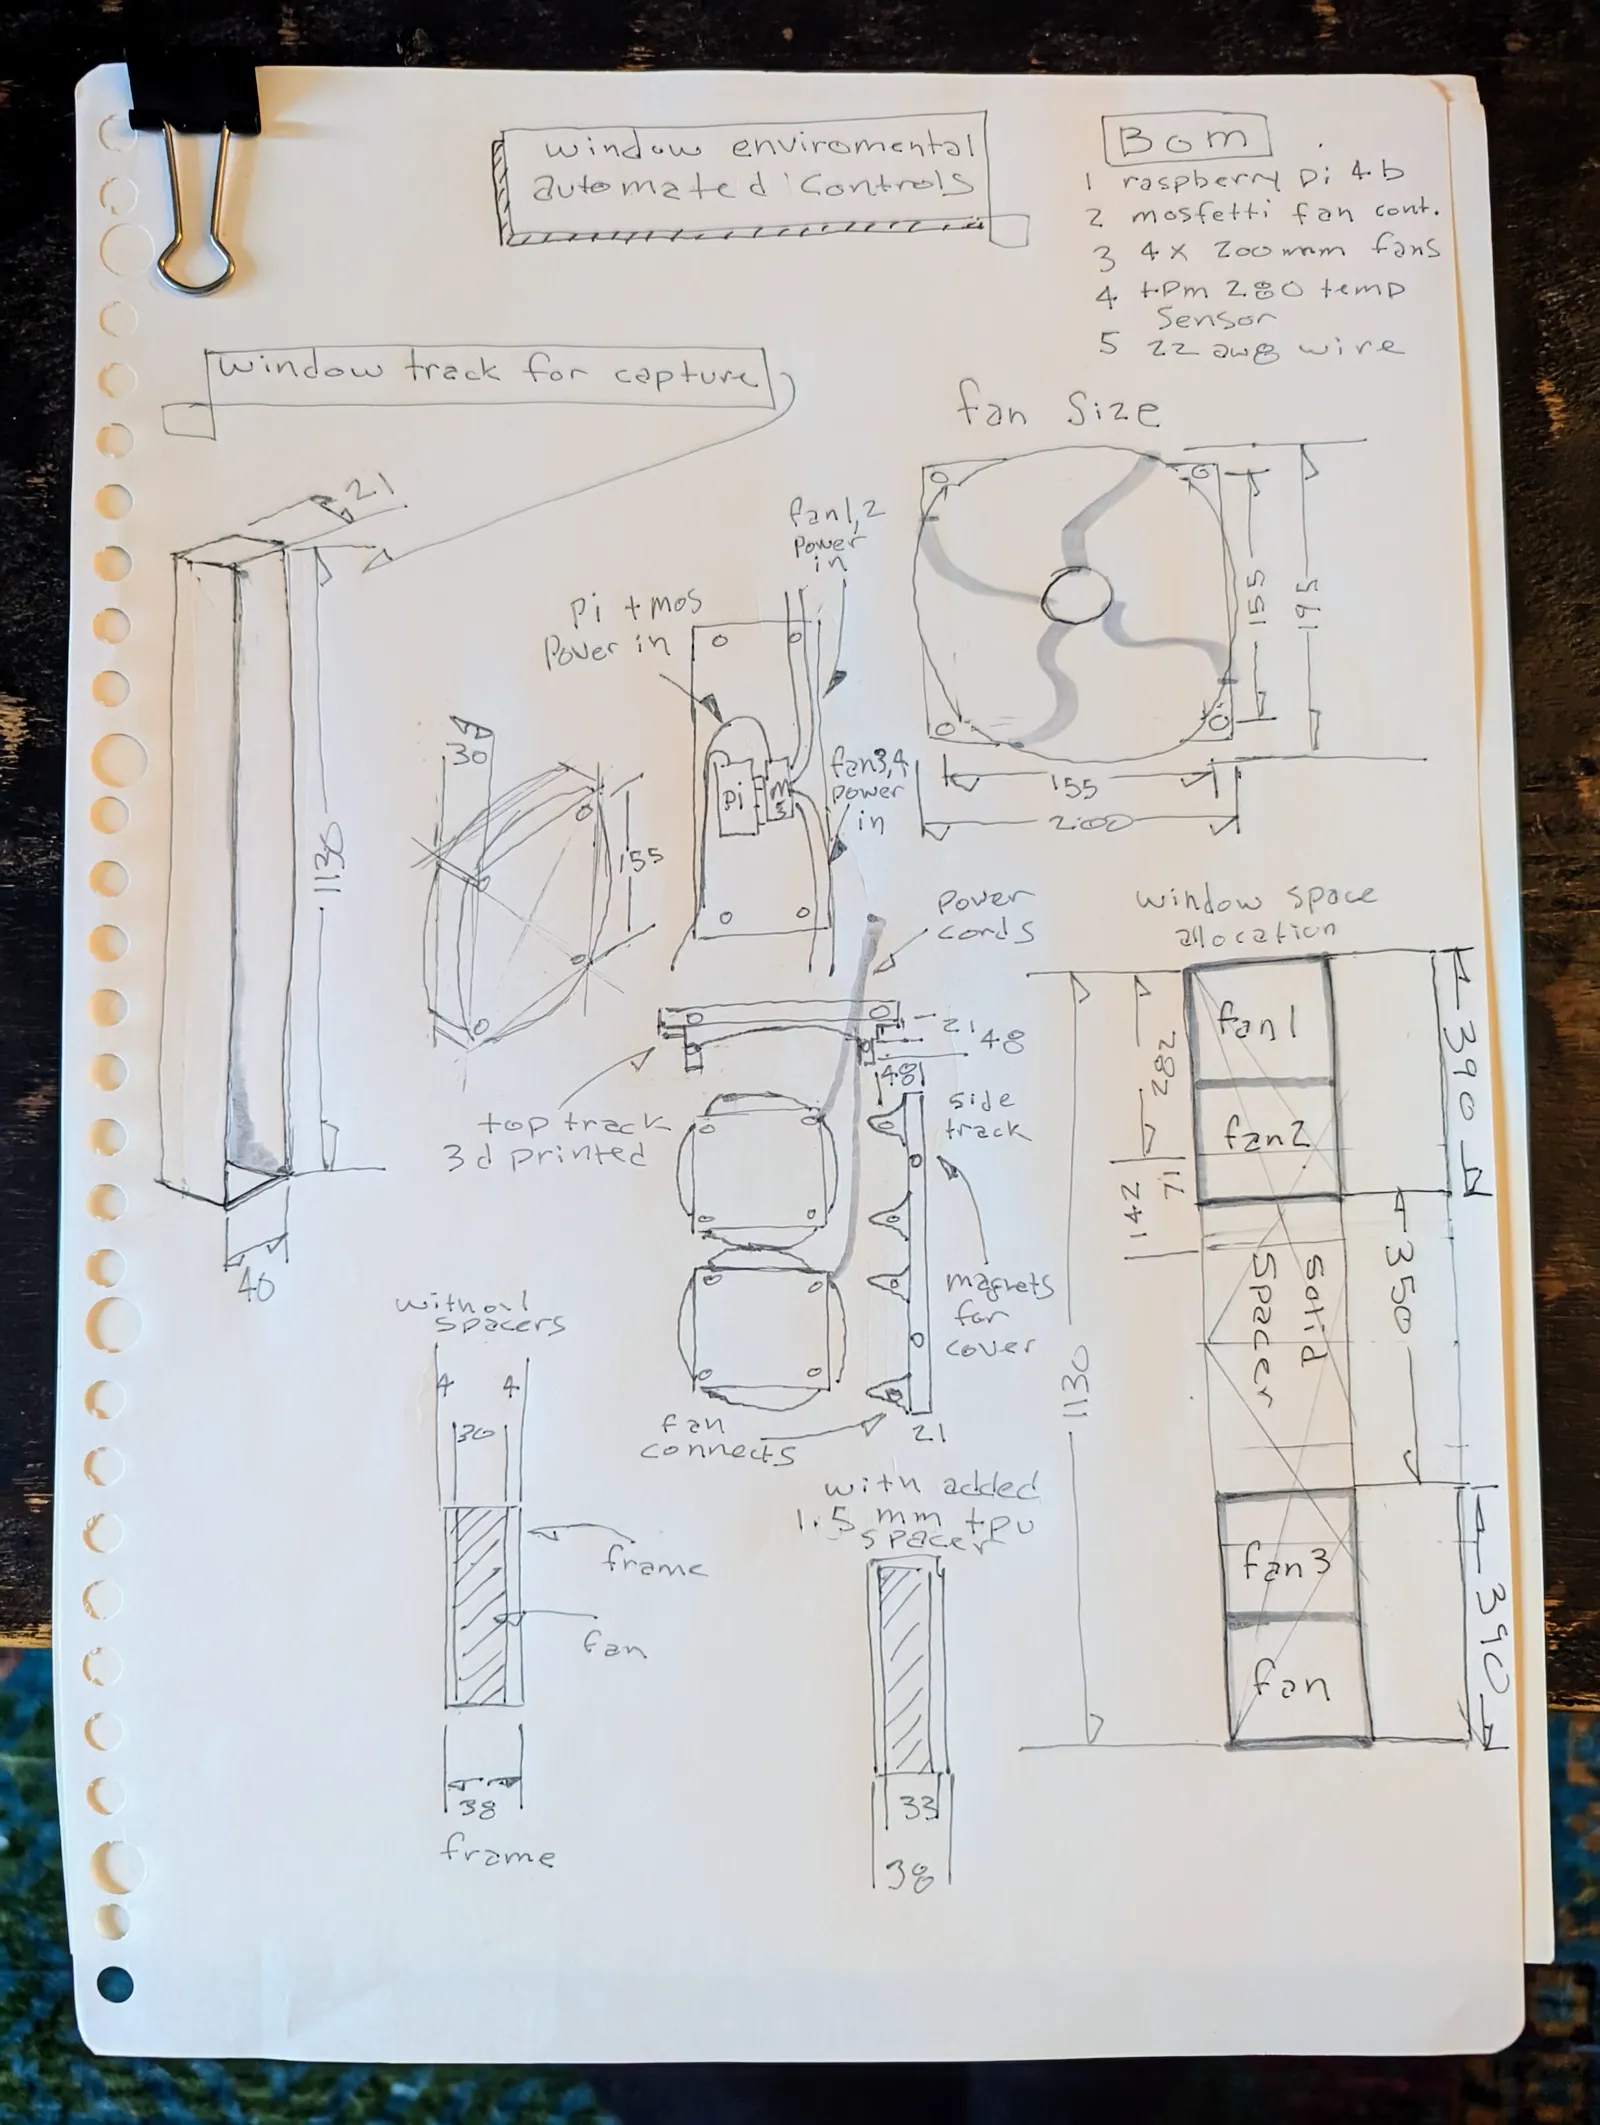
I got eight Thermaltake, 20 200 mm fans, a Raspberry Pi, a MOSFET that would control those eight fans over four channels, as well as a BME280 sensor for the Raspberry Pi so I could take ambient readings of barometric pressure, temperature, and humidity in the room constantly. I went through a couple of iterations. I learned a lot. The first version came out looking like a very rough prototype, but I did use it for the first summer. There was exposed wiring everywhere. I managed to figure out a lot of the challenges of getting the fans into a 3D printed framework.
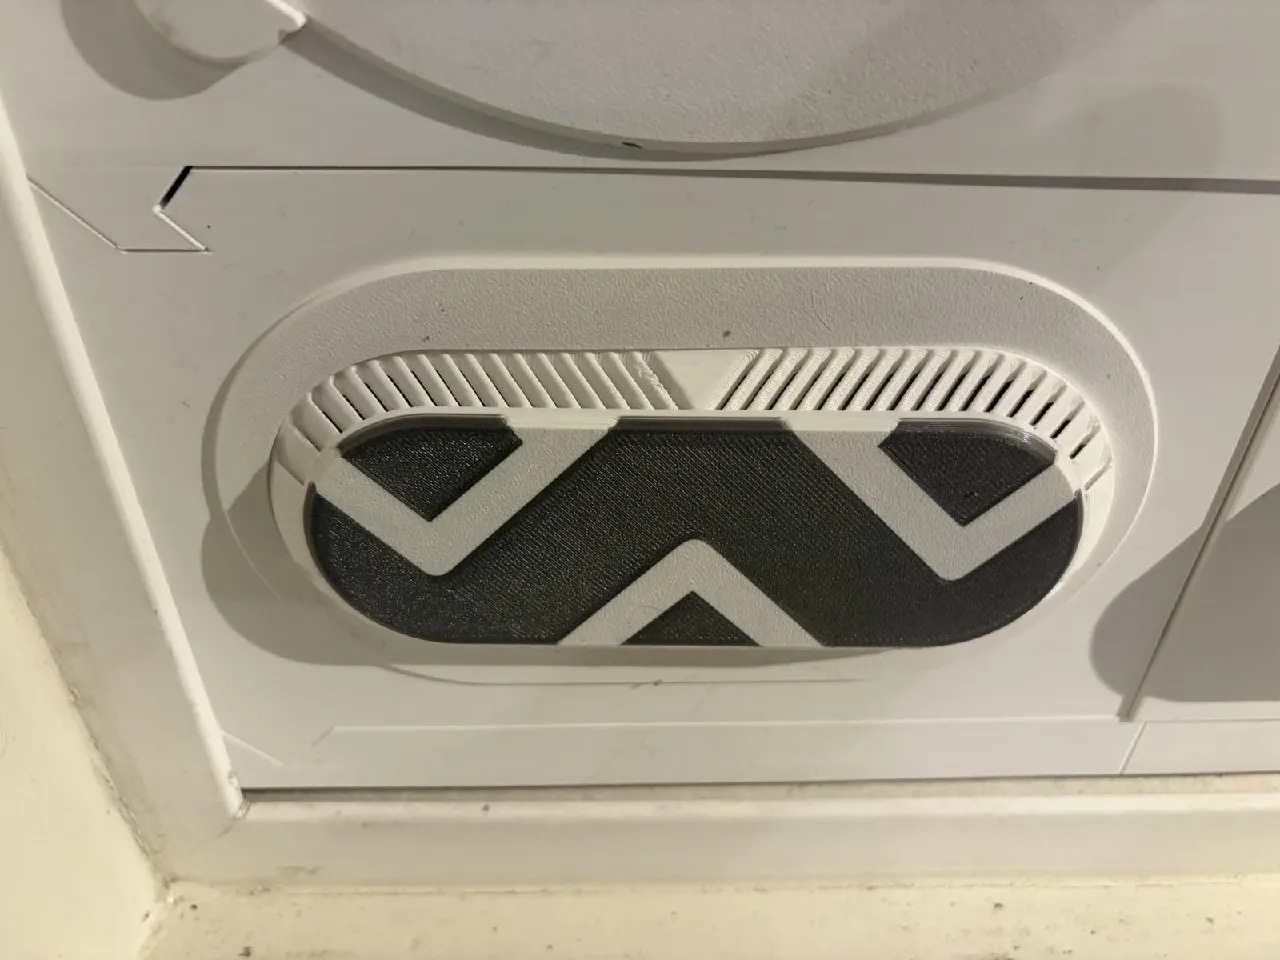
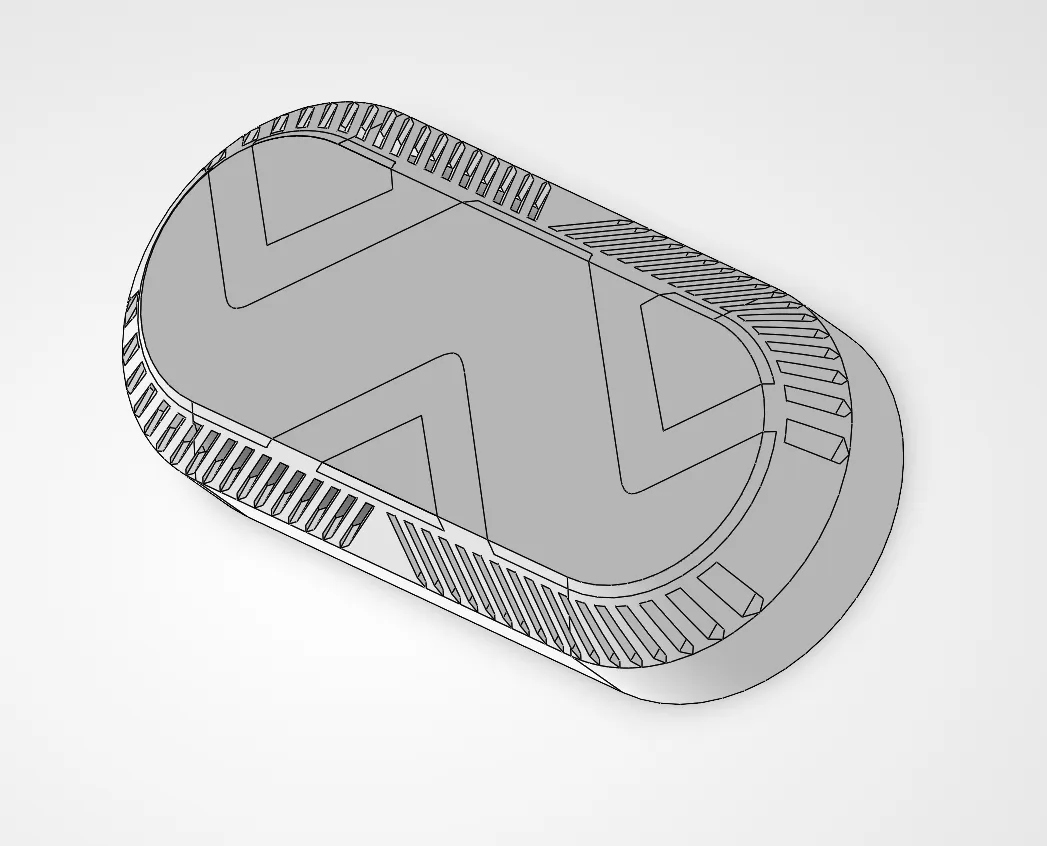
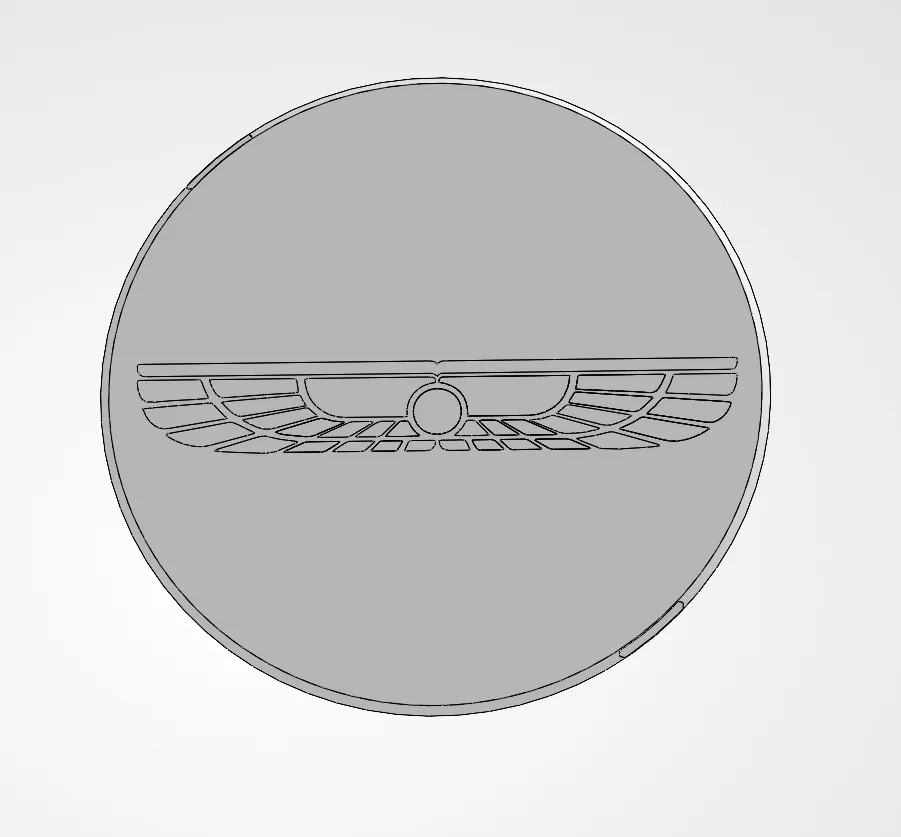
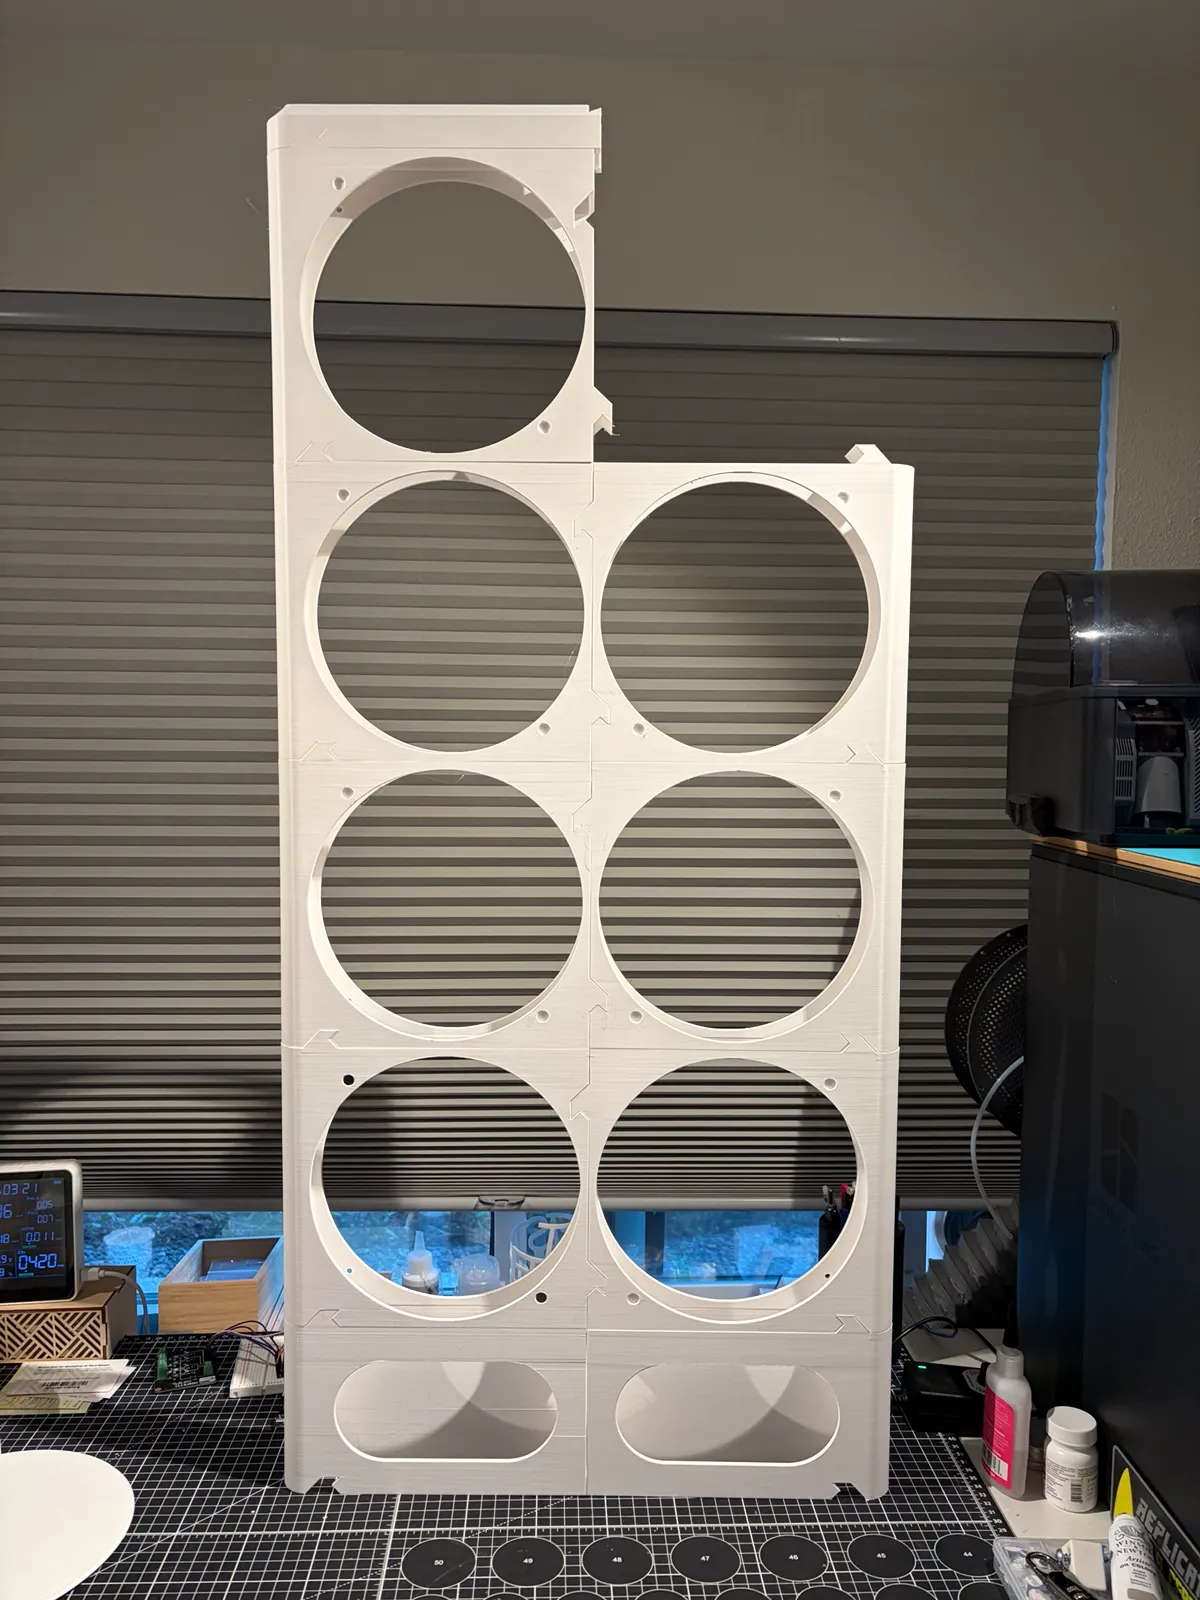
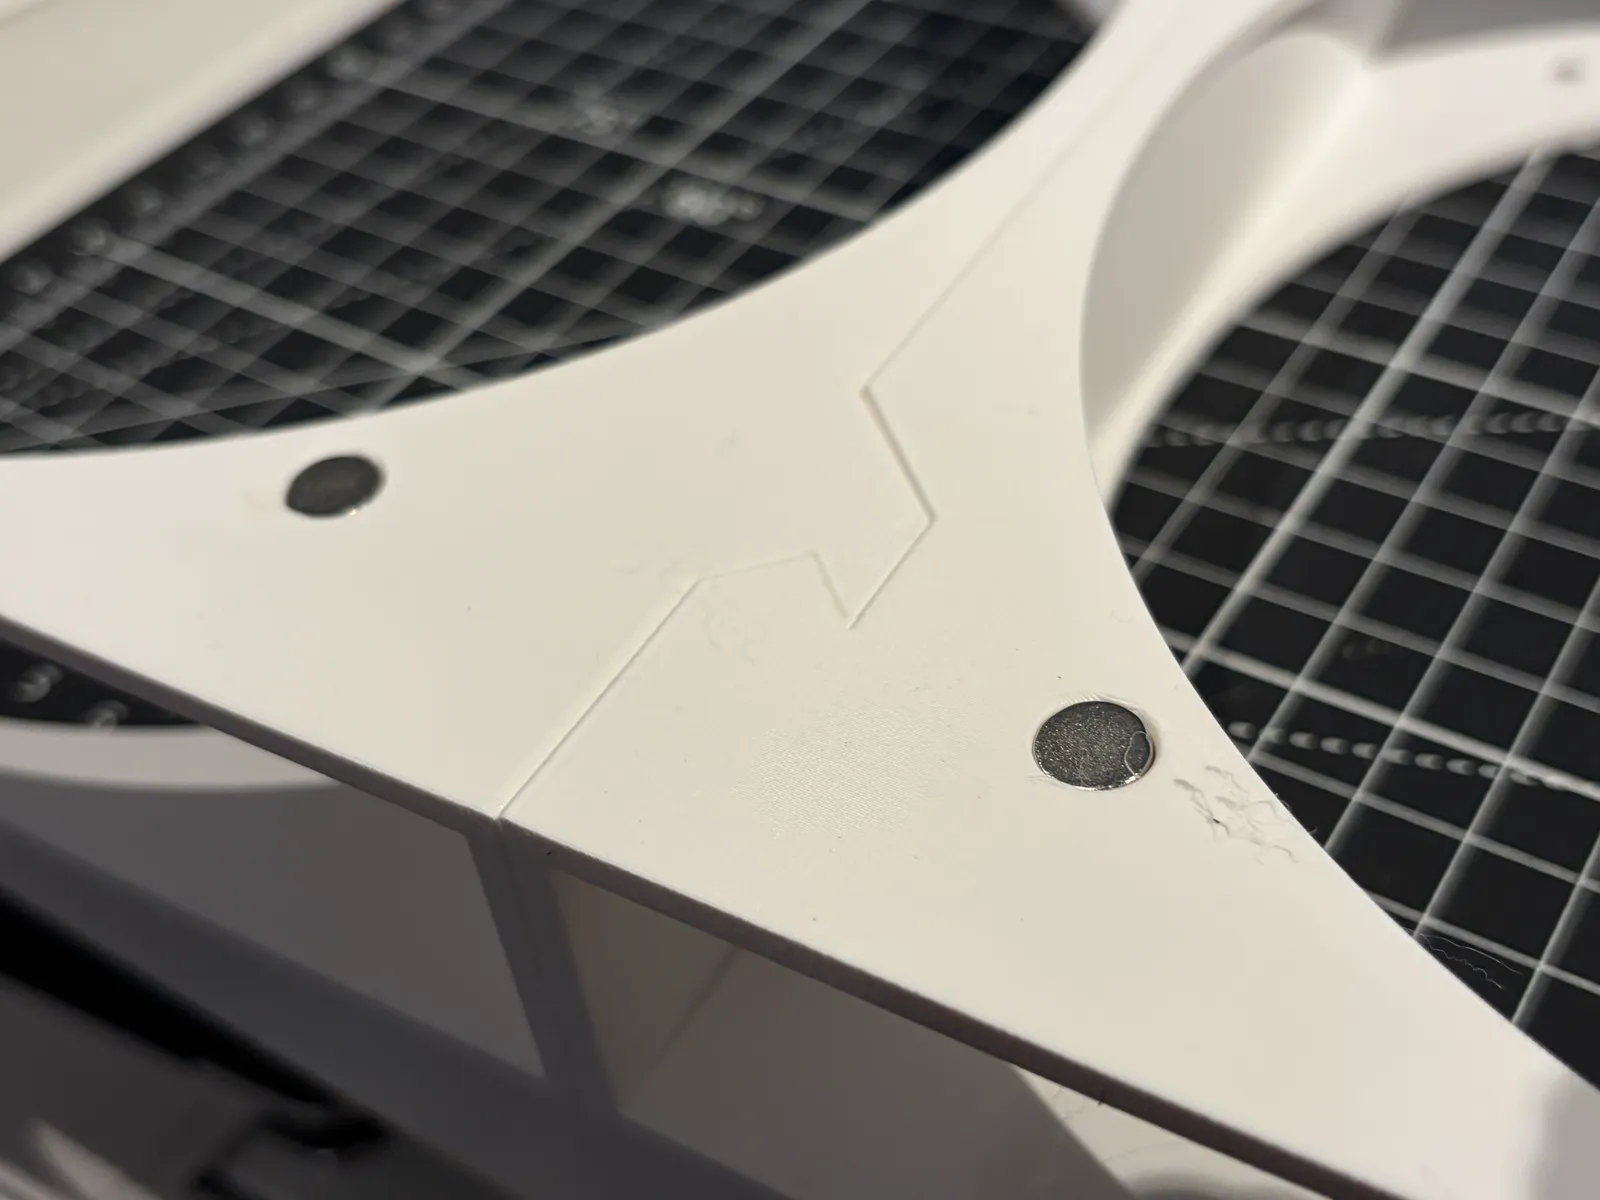
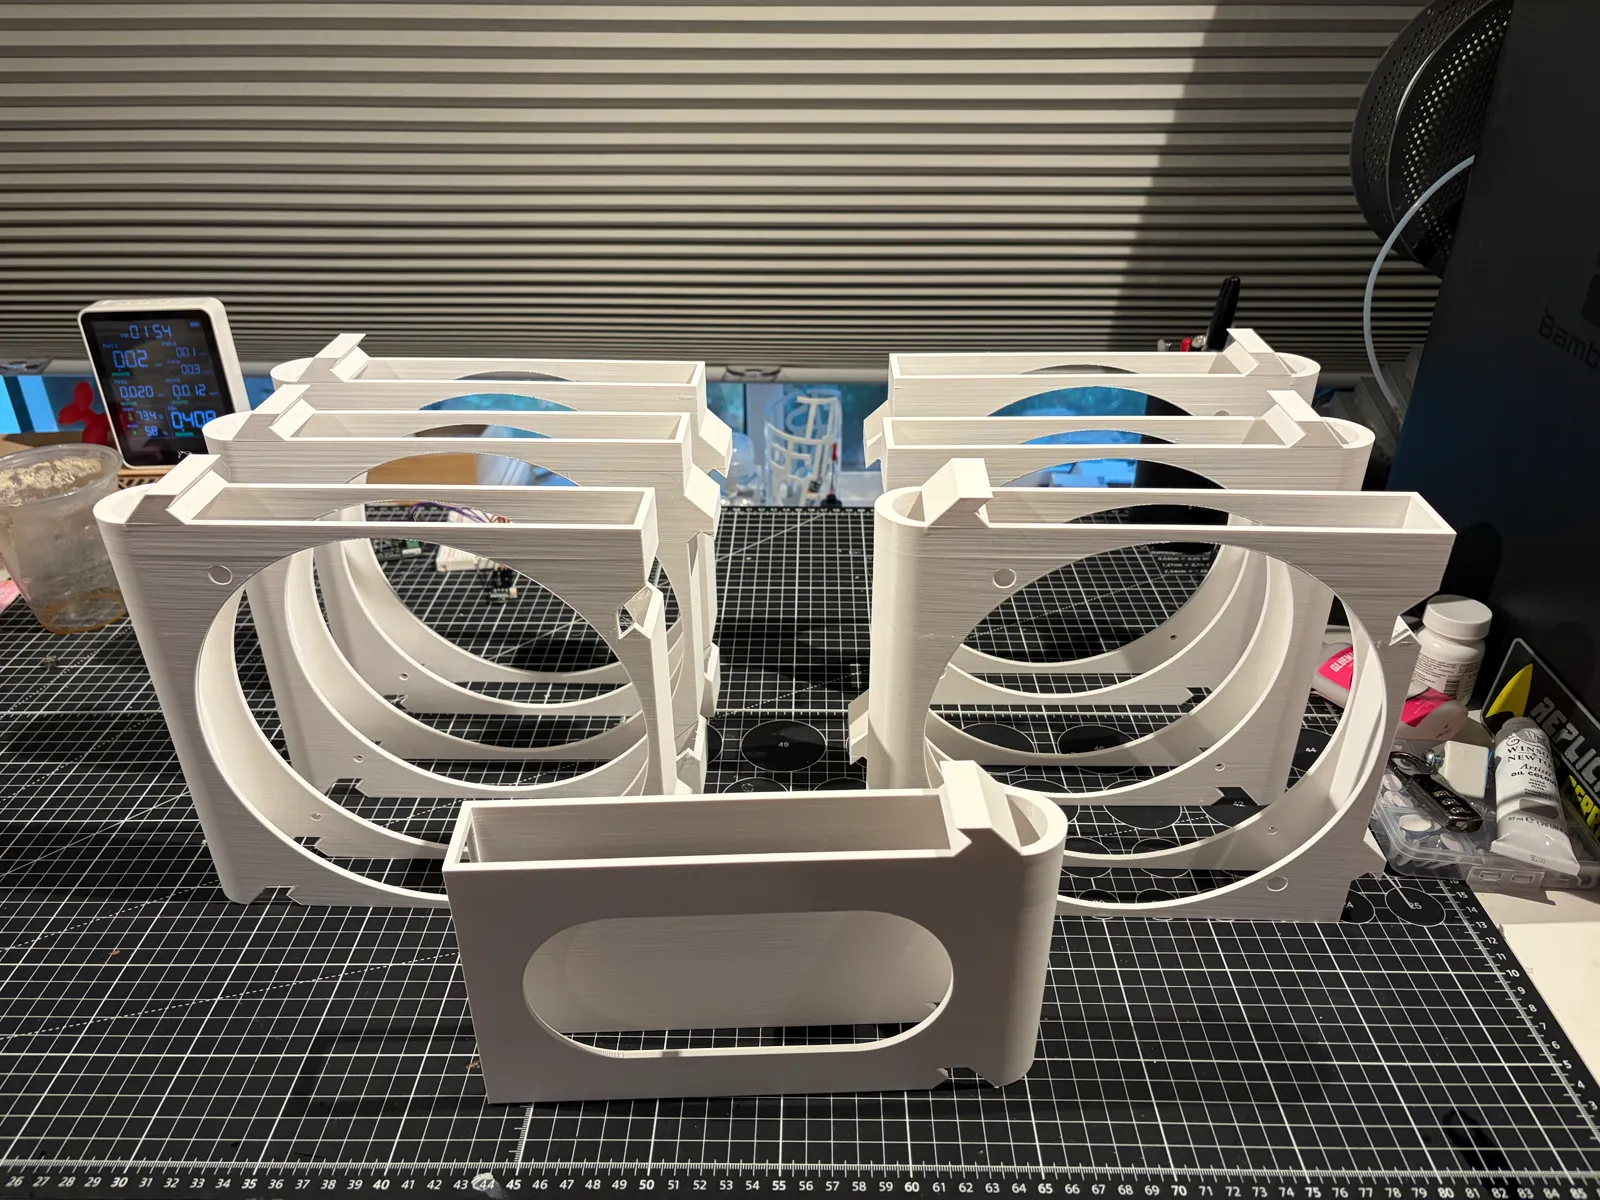
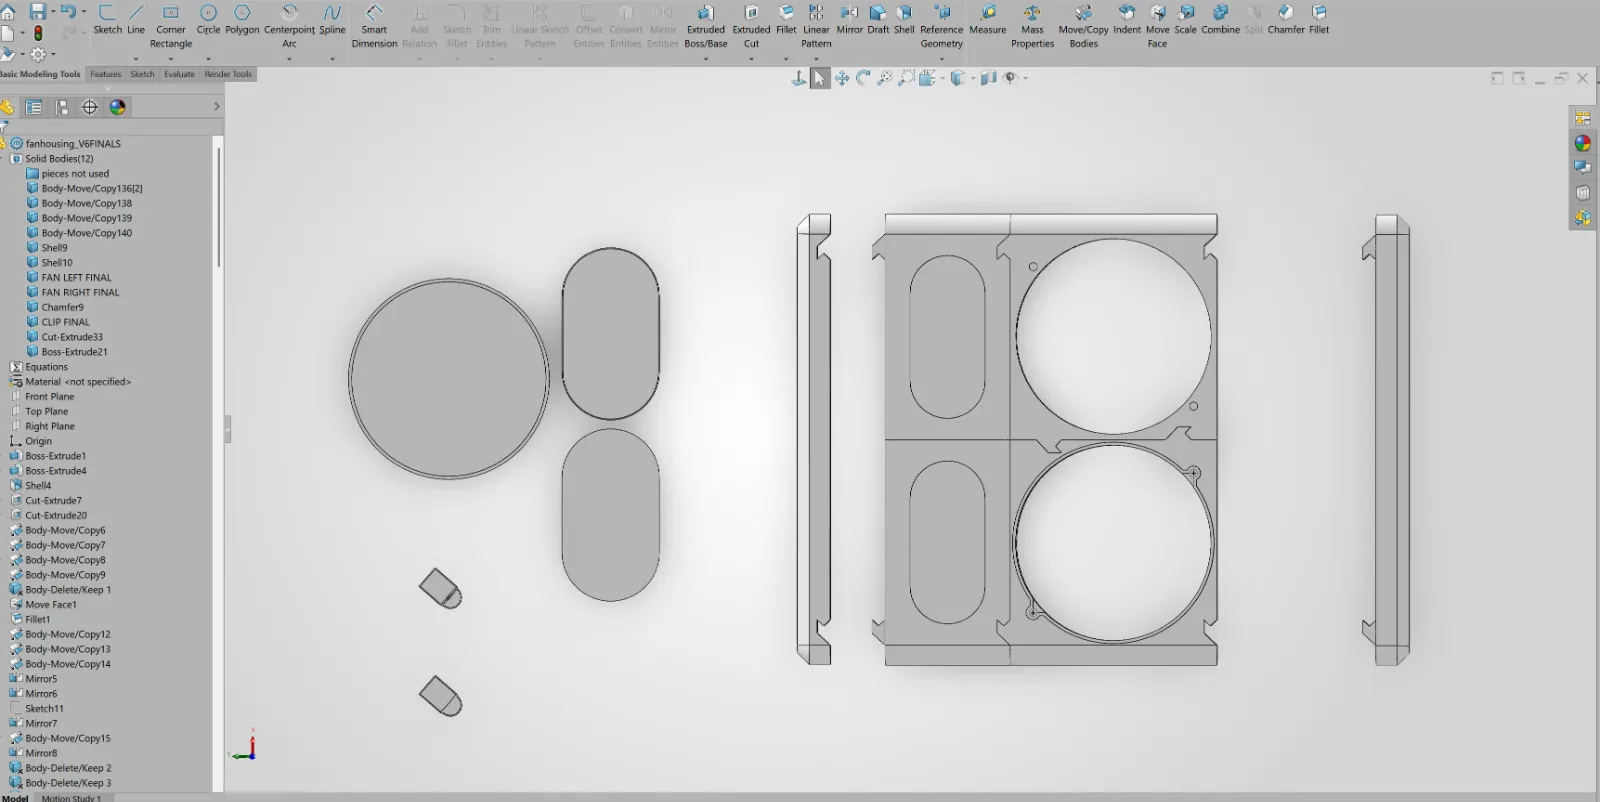
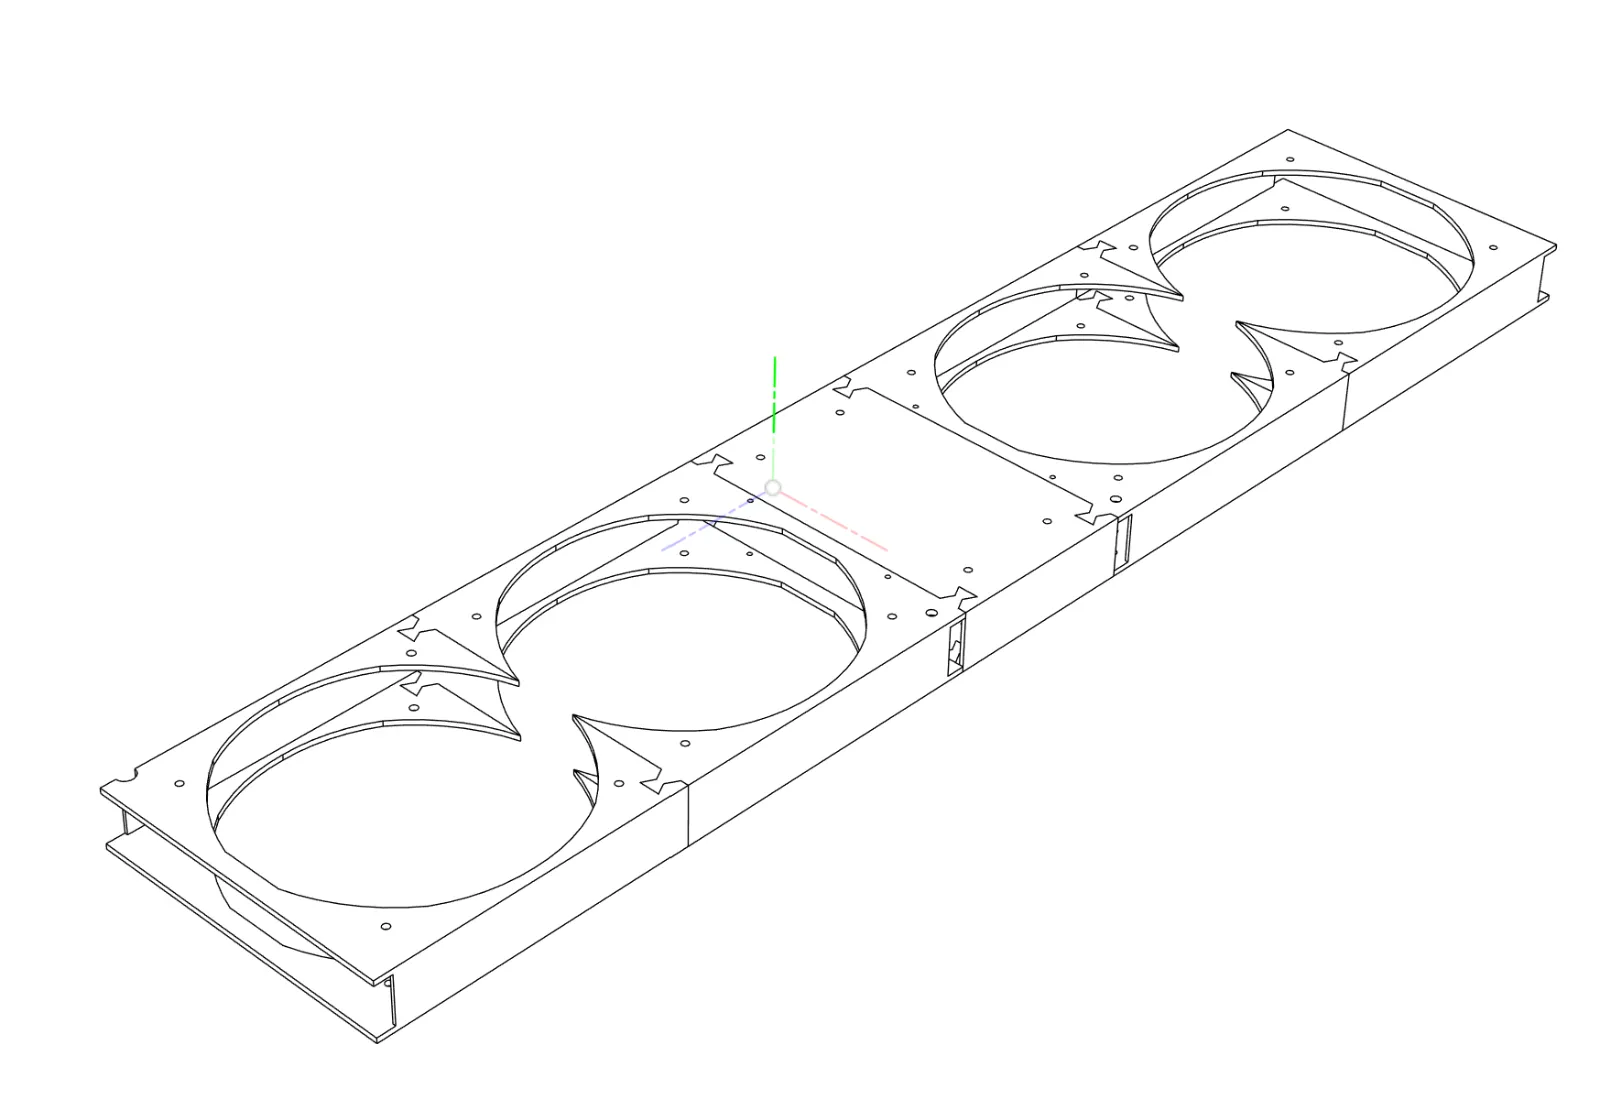
I designed all the pieces in SolidWorks. The outside rigid frame holds the fans and each piece dovetails together like a puzzle piece, and fit exactly in the 30 mm wide window track. Essentially, I wanted this to be like a slim, good-looking fan that fit into that window track. I got the prototype together. It worked okay. This year it started to get warm in the spring, and I wanted to rebuild it, so I decided to tackle some of the bigger challenges. I redesigned the frames to have all the hardware be on the back so you wouldn’t see the screws that mount the fans. I also flush mounted rare earth magnets in front of the frames. I put two on each fan so that it created a sort of universal mounting system where anything that I wanted to add magnets to could go there. In this case, I made covers so I don’t have to have all the fans open.
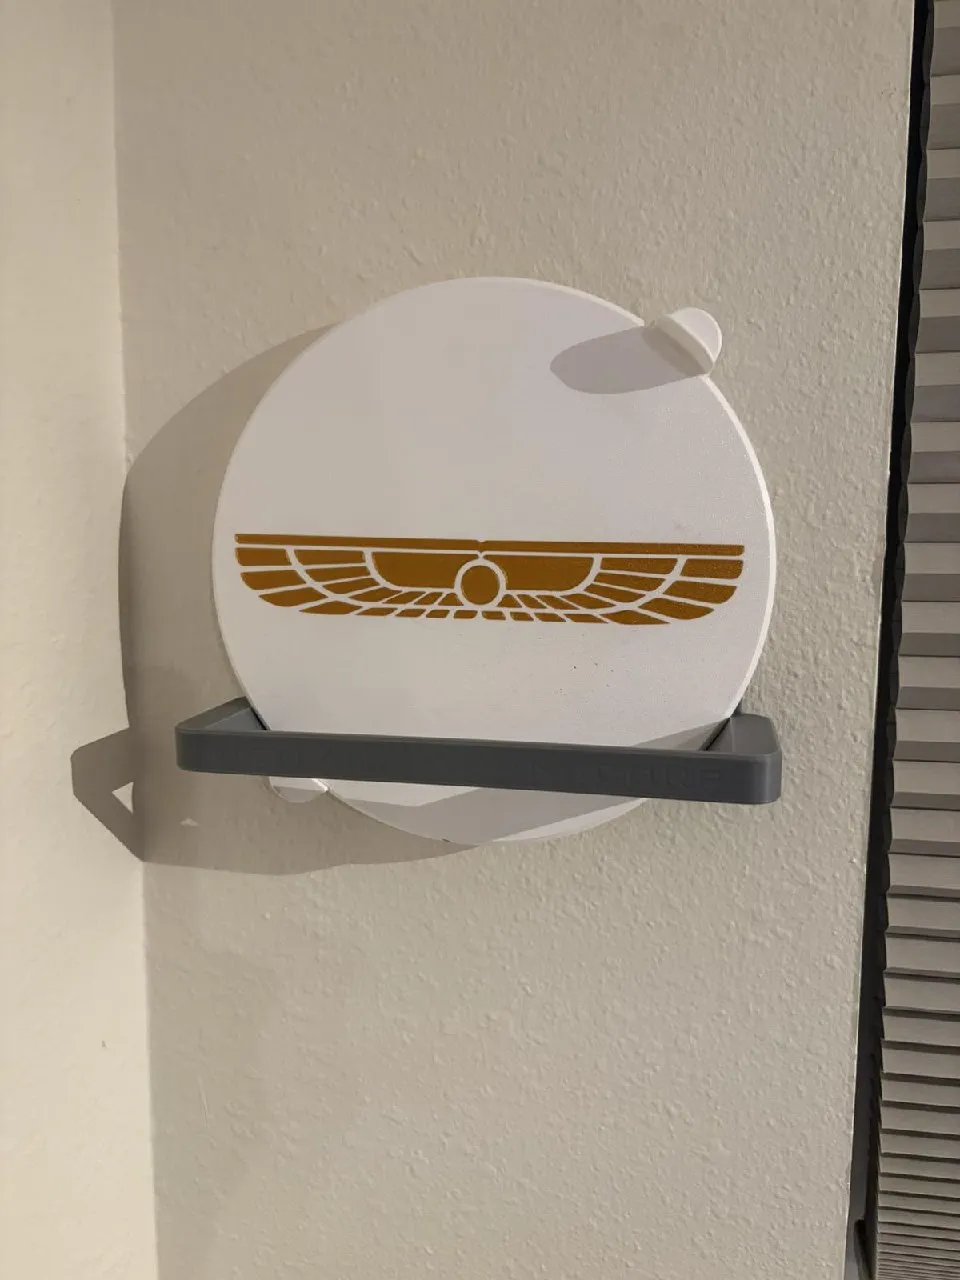
Also, I don’t have to lift this thing in and out of the window. It can stay there, and I just slap a magnetic cover over the fans that are not being used, and it seals the window. That was an upgrade. As well, I also moved the electronics to the bottom of the unit, and I made them enclosed and accessible, including adding some vents to one of the covers for the brains and whatnot. Since I created covers for the fans, I also then created a rack that goes up on the wall next to where the fan is. When I take the covers off, they rest neatly there and wait to be used, so convenient.
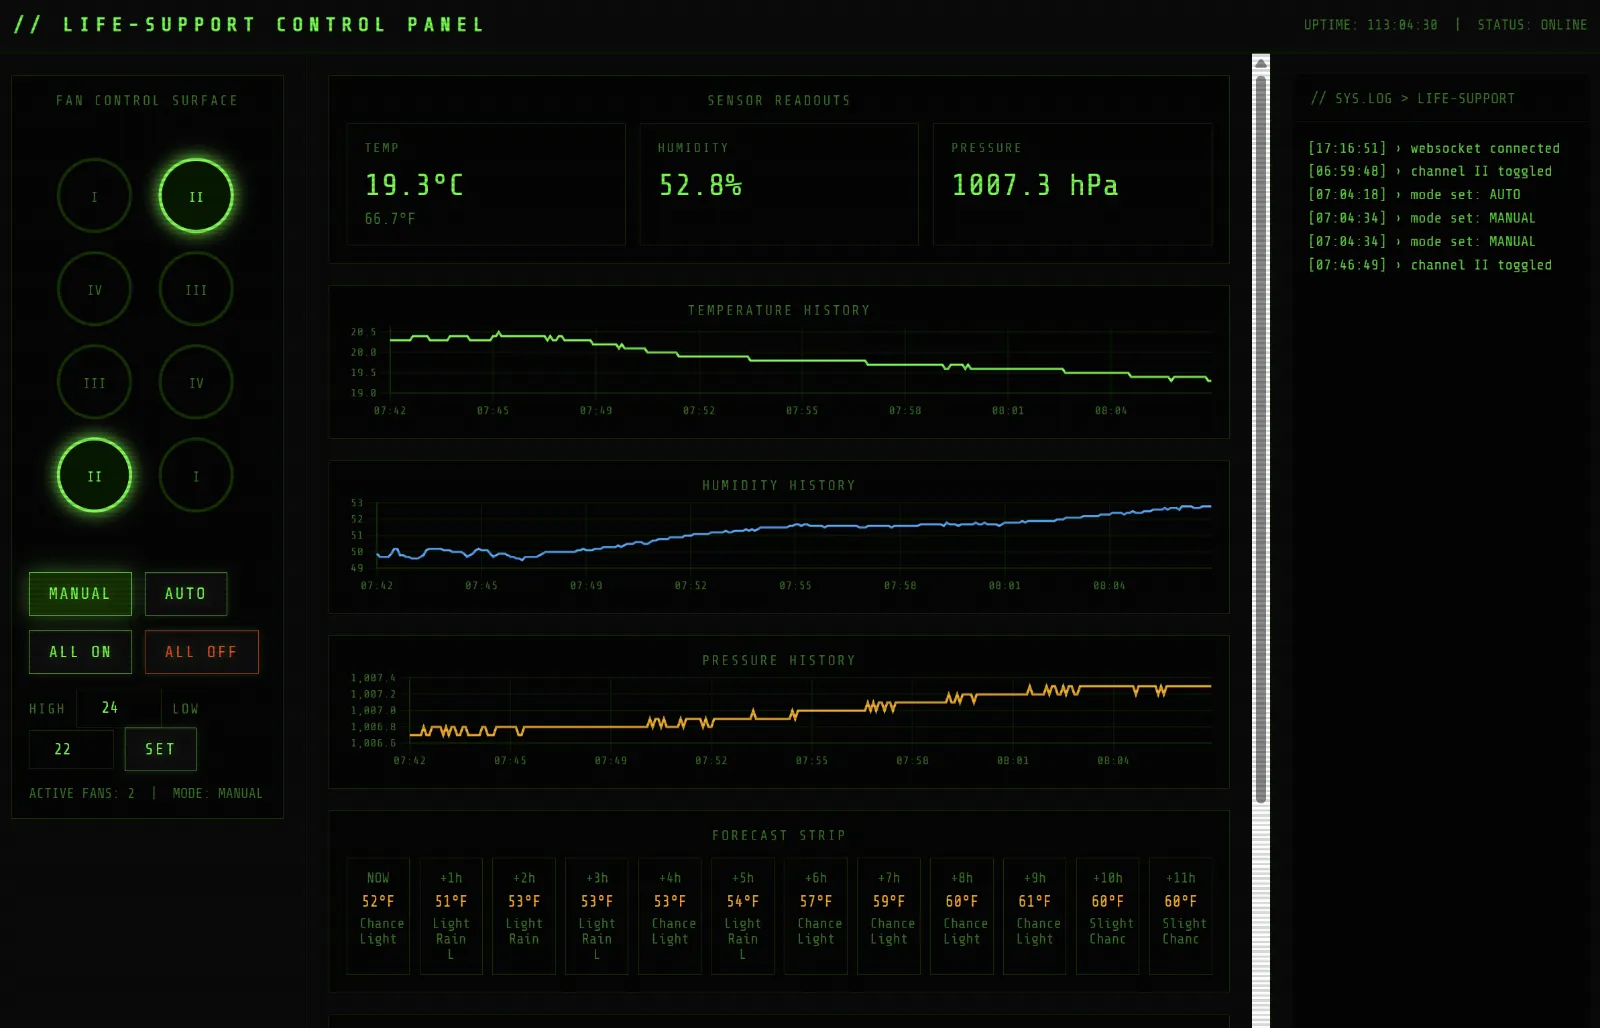
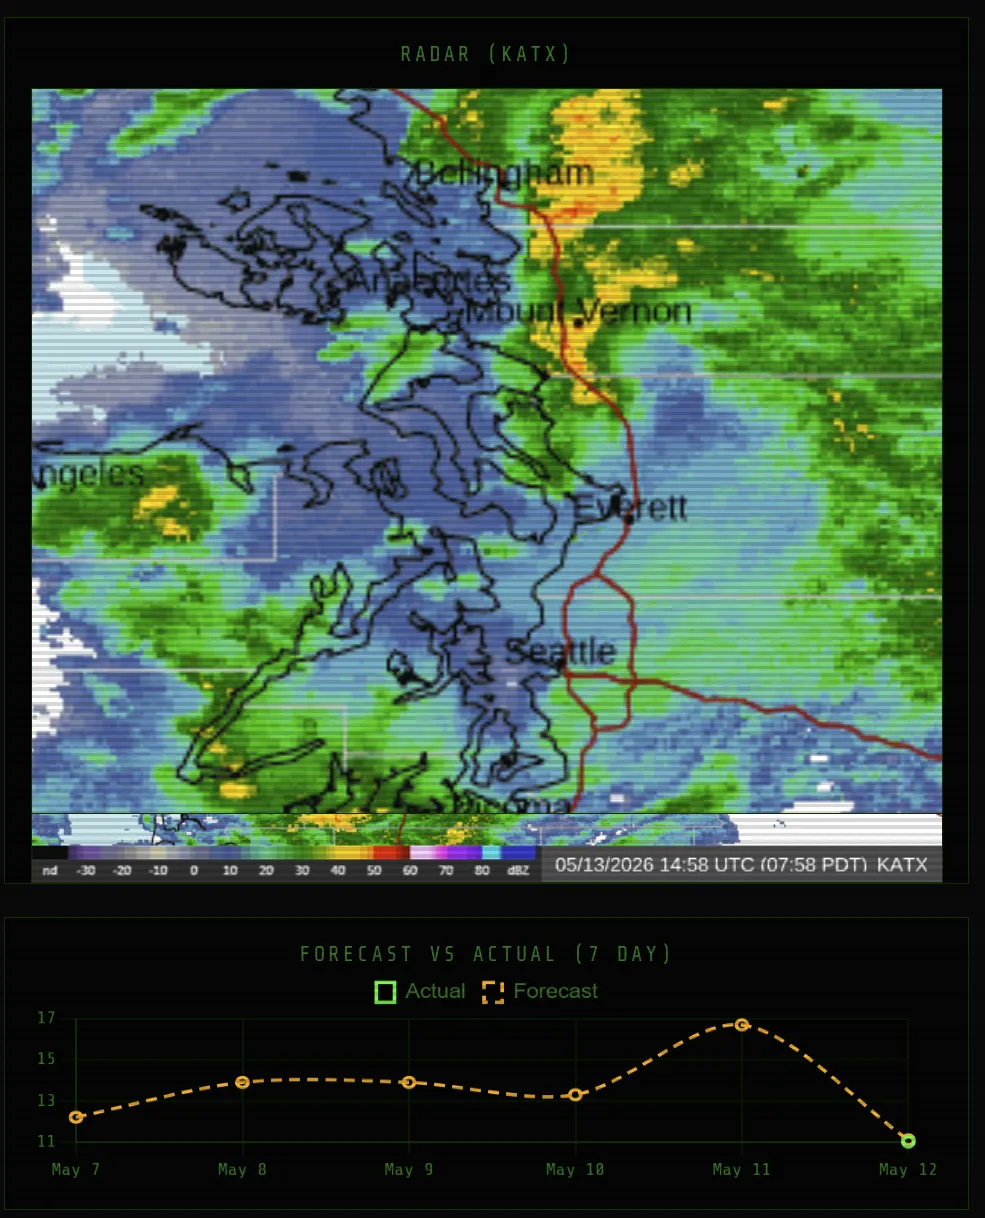
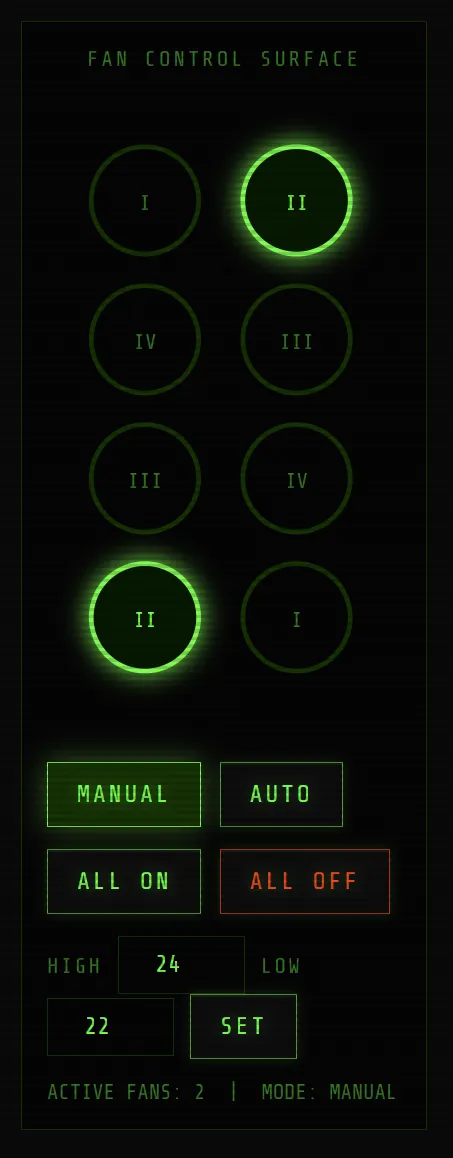
I’m a fan of the cassette futurism, vintage technology aesthetic. I styled the whole thing to look like it is hardware from the Wayland-Yutani Corporation from the movie franchise Alien. In addition to showing the 7 days for the temperature, humidity, and pressure, I also added a weather radar map on there with 7 different filters you can look at: wind, rain, clouds, temperature, isobars, etc. I also programmed it to zoom to various different cities that interest me. I love the hacker noir dash styling and I have complete control from any device with a web browser.
Reference Images