Oneday Project: Designing Custom Riser Feet
I’m constantly exploring ways to optimize my workspace and enhance the performance of my tools. In this blog post, I’ll share my #oneday project designing and 3D printing custom riser feet for my X-tool laser cutter.
Precise Measurements and Meticulous Modeling
The first step in this project was to take accurate measurements of my laser cutter’s chassis using a set of calipers. This attention to detail ensured that the riser feet would fit snugly and provide a stable foundation for the machine.
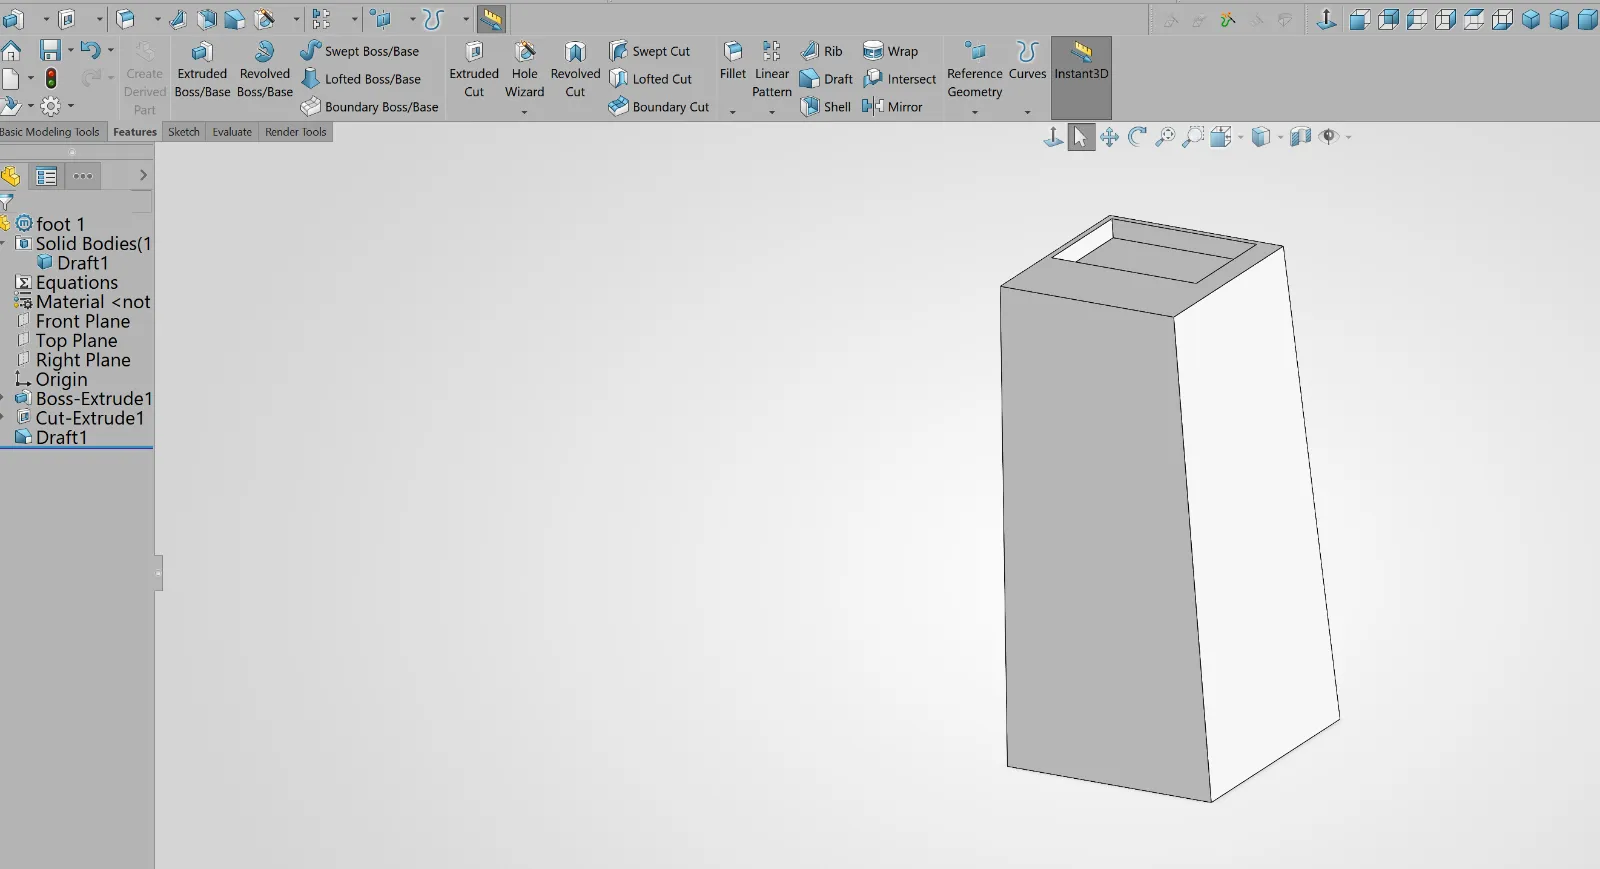
With the measurements in hand, I fired up Solidworks and began the 3D modeling process. My primary goal was to create a design that would not only support the laser cutter but also provide ample storage space underneath, maximizing the efficiency of my workspace.
Optimizing for Efficiency and Ease of Printing
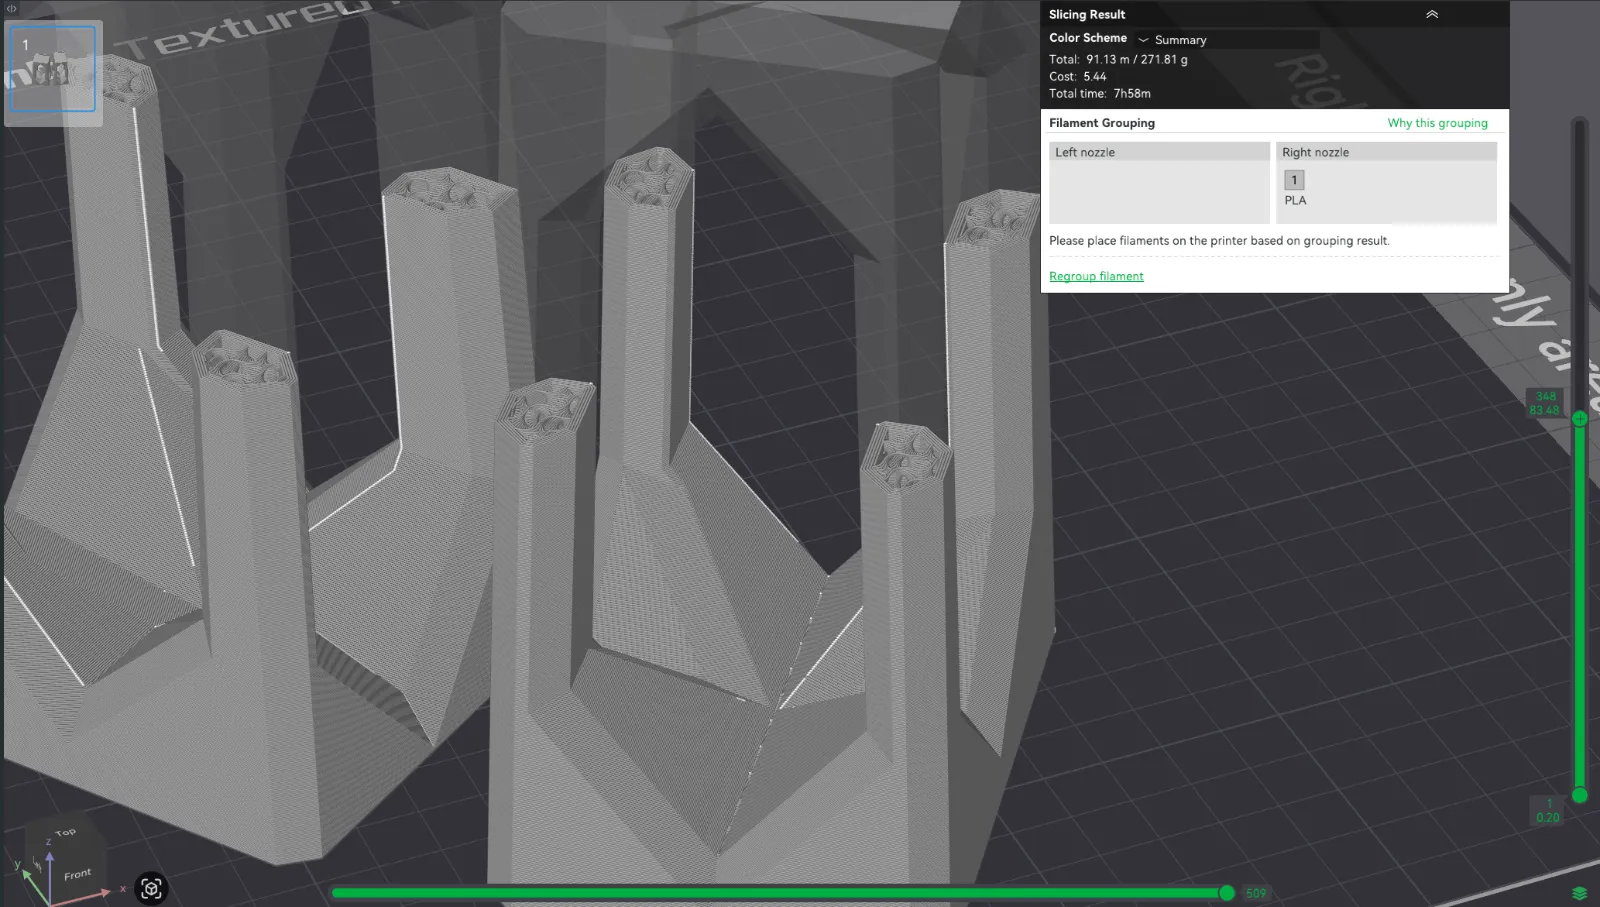
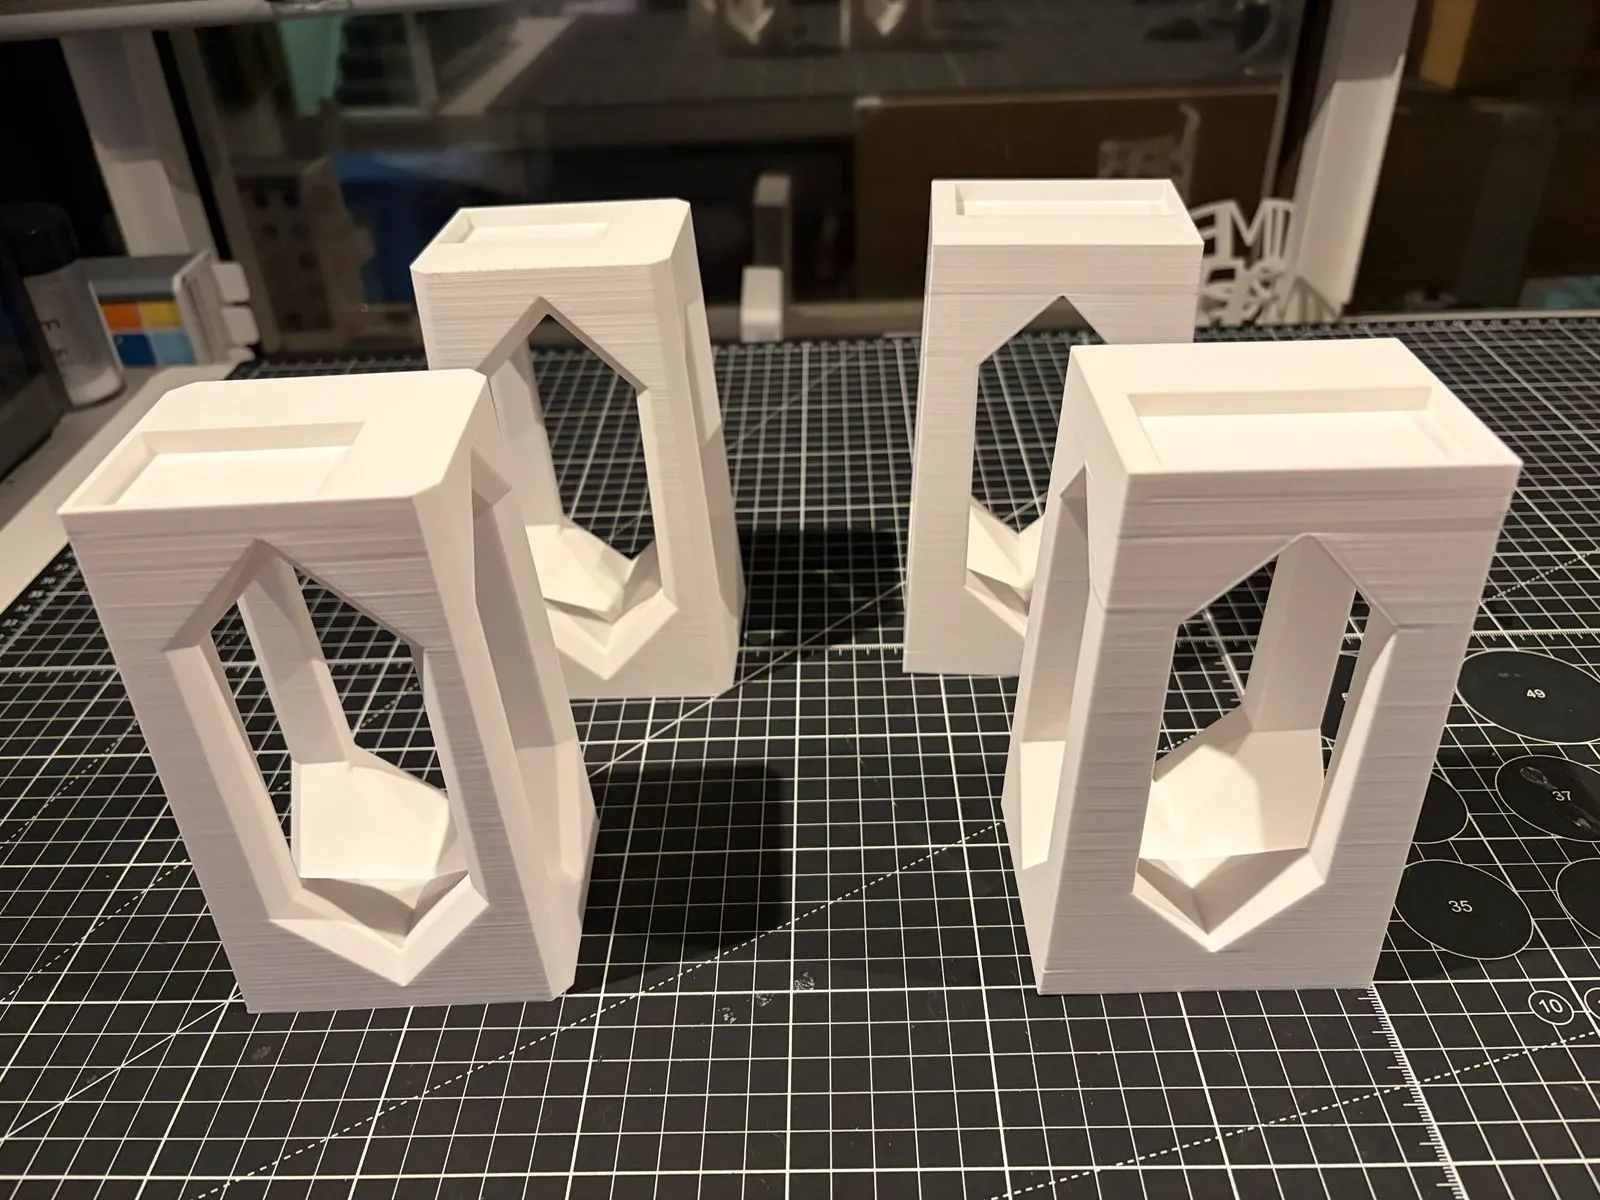
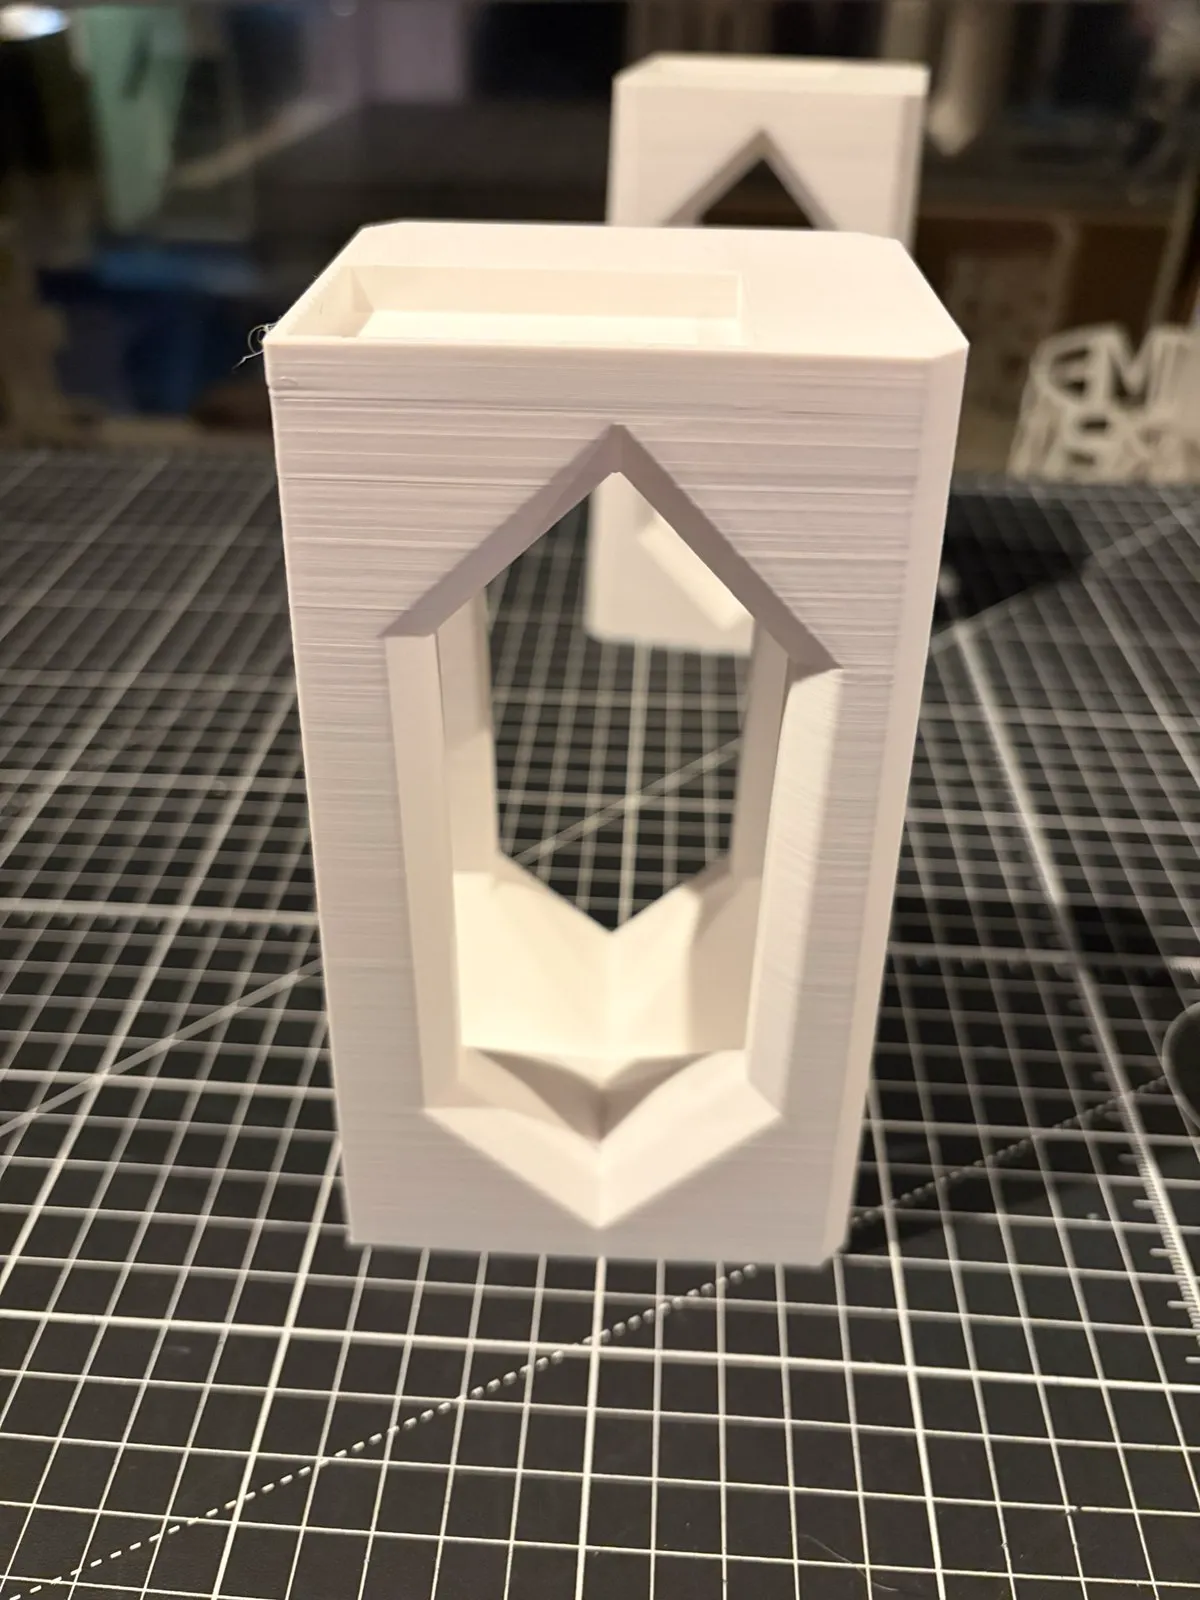
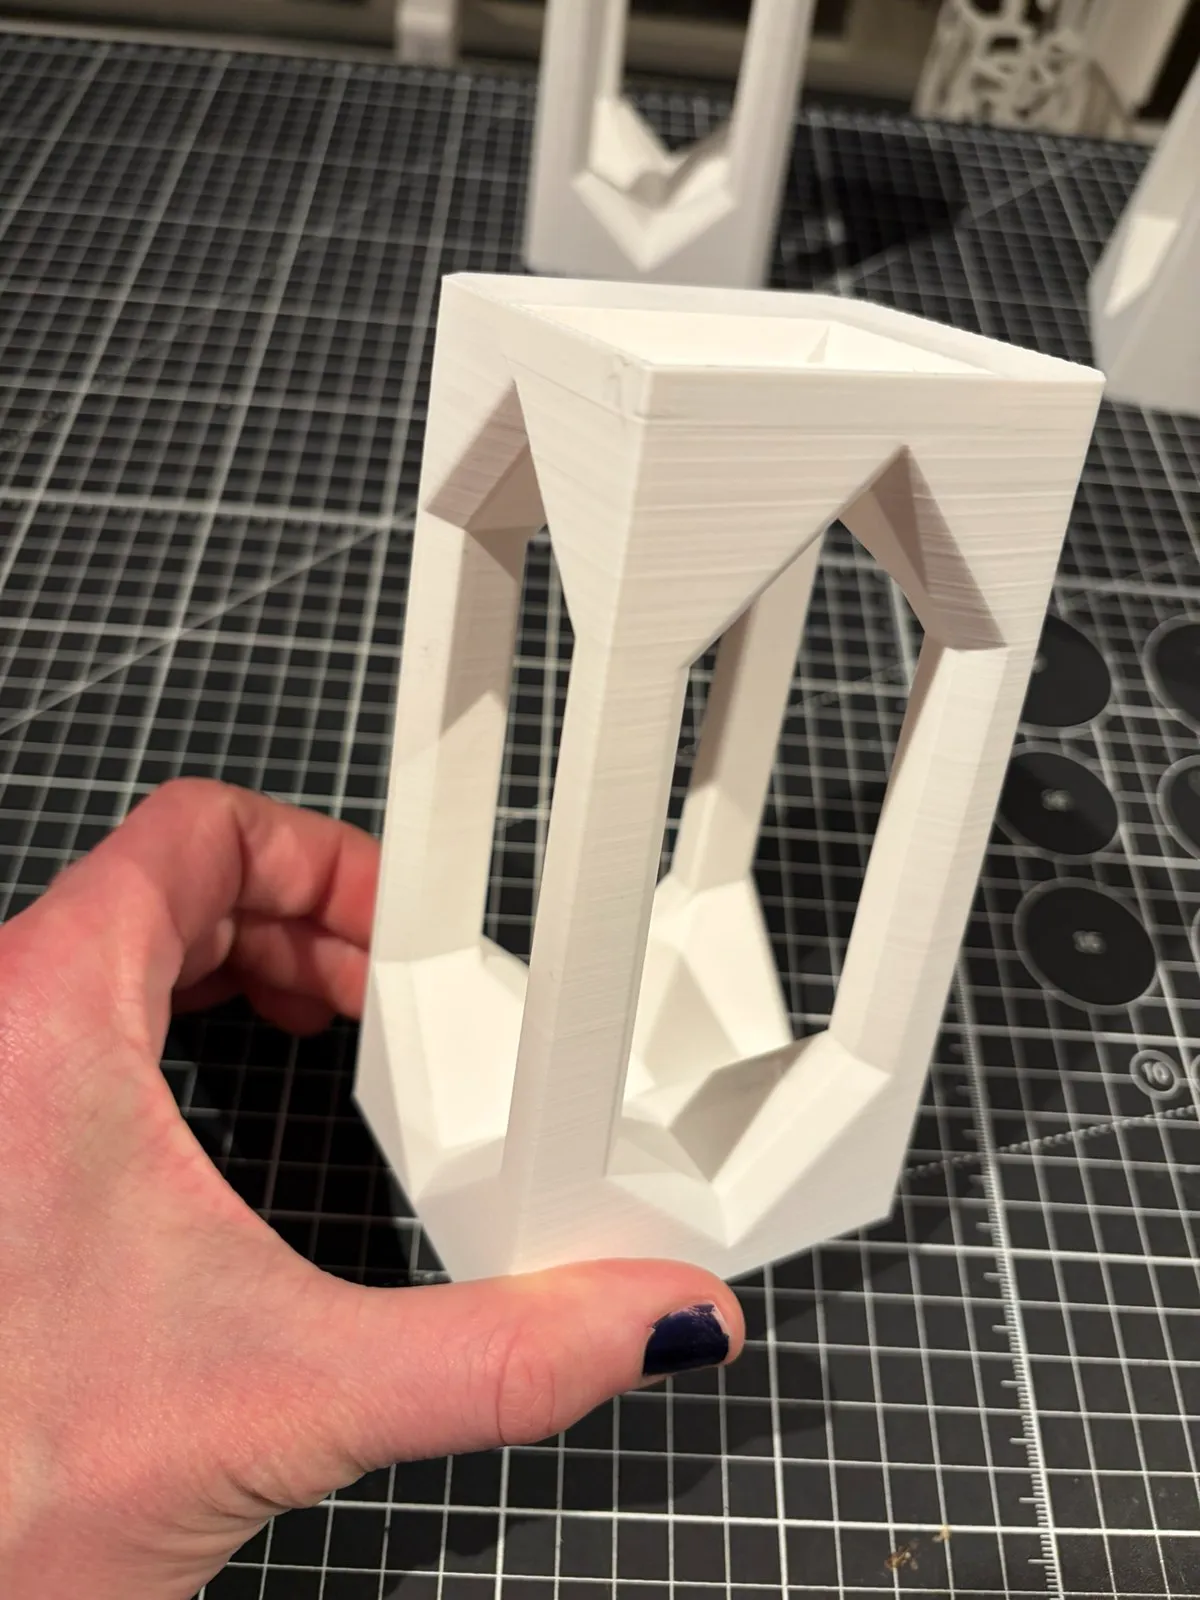
In the design phase, I focused on incorporating features that would minimize material usage and printing time. By selecting a gyroid infill pattern at 15% density and strategically placing cutouts in the center of the feet, I was able to reduce the overall filament requirements without compromising the structural integrity of the riser feet.
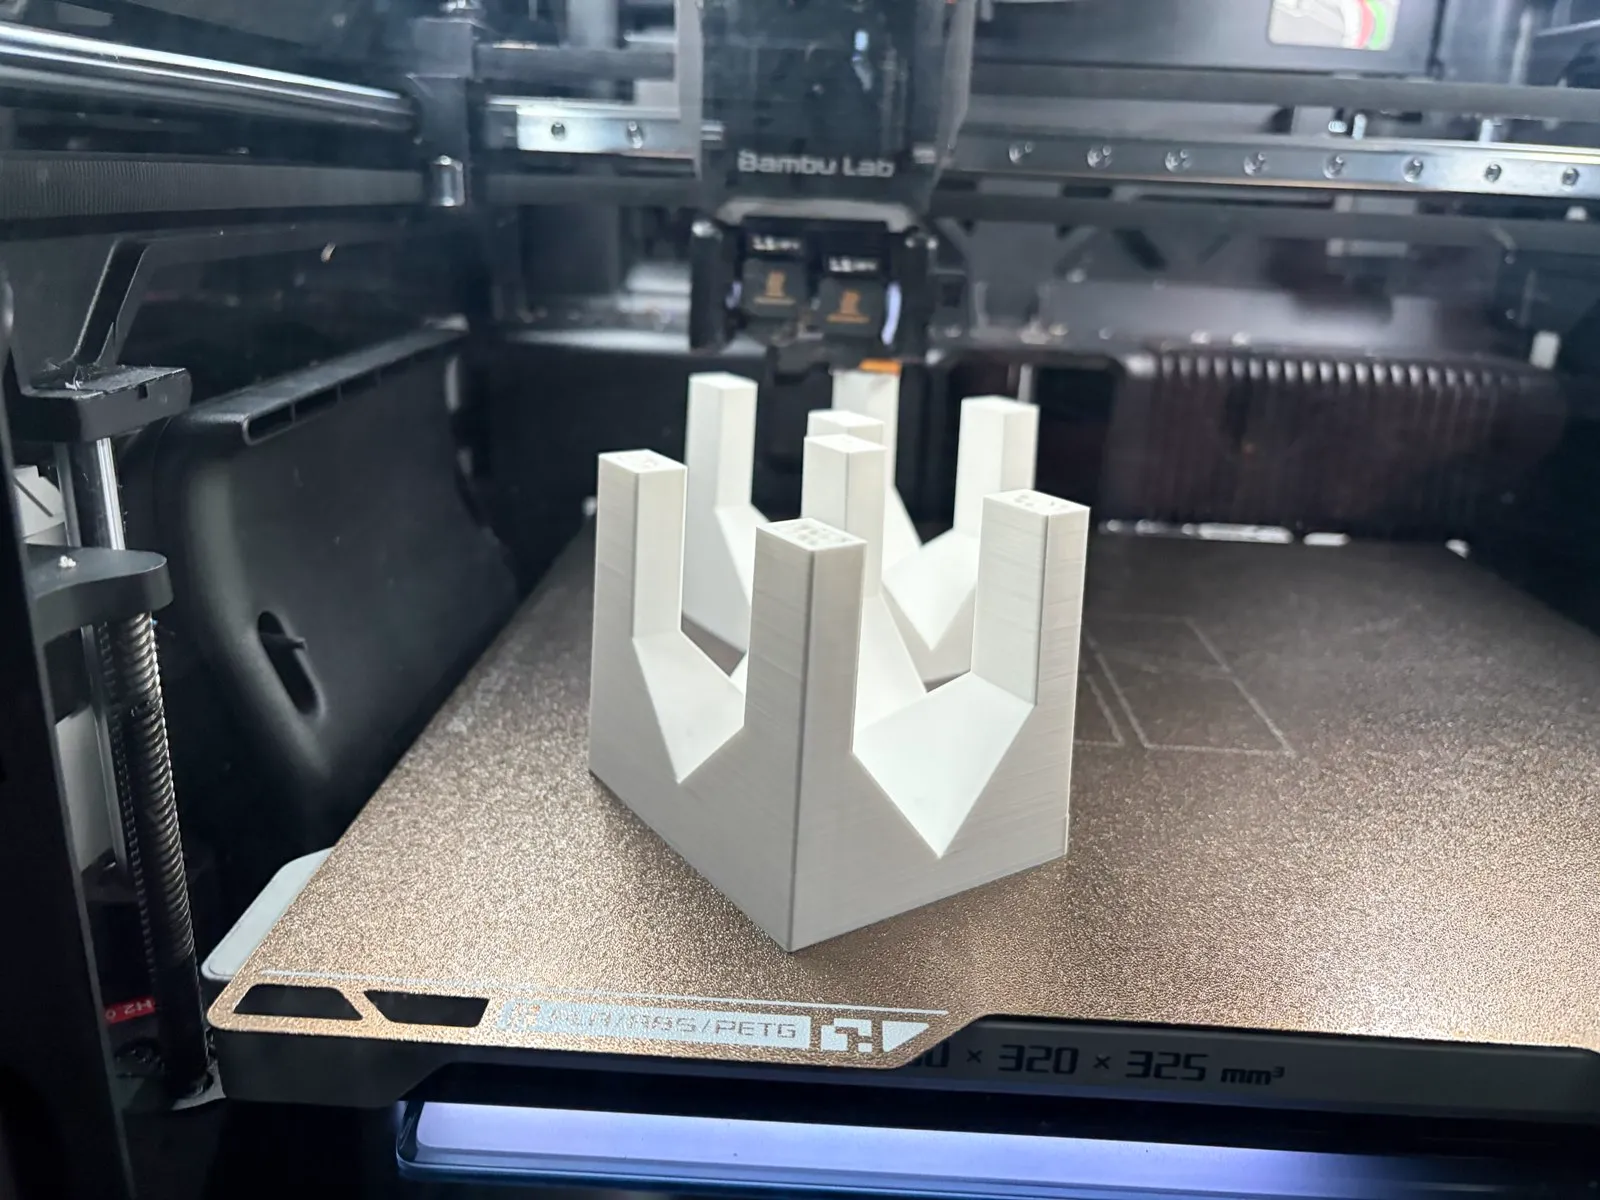
One of the key challenges I faced was eliminating the need for support structures during the printing process. By designing all cuts and chamfers at 45-degree angles, I was able to print the riser feet without any supports, saving both time and material.
Enhancing Stability and Reducing Noise
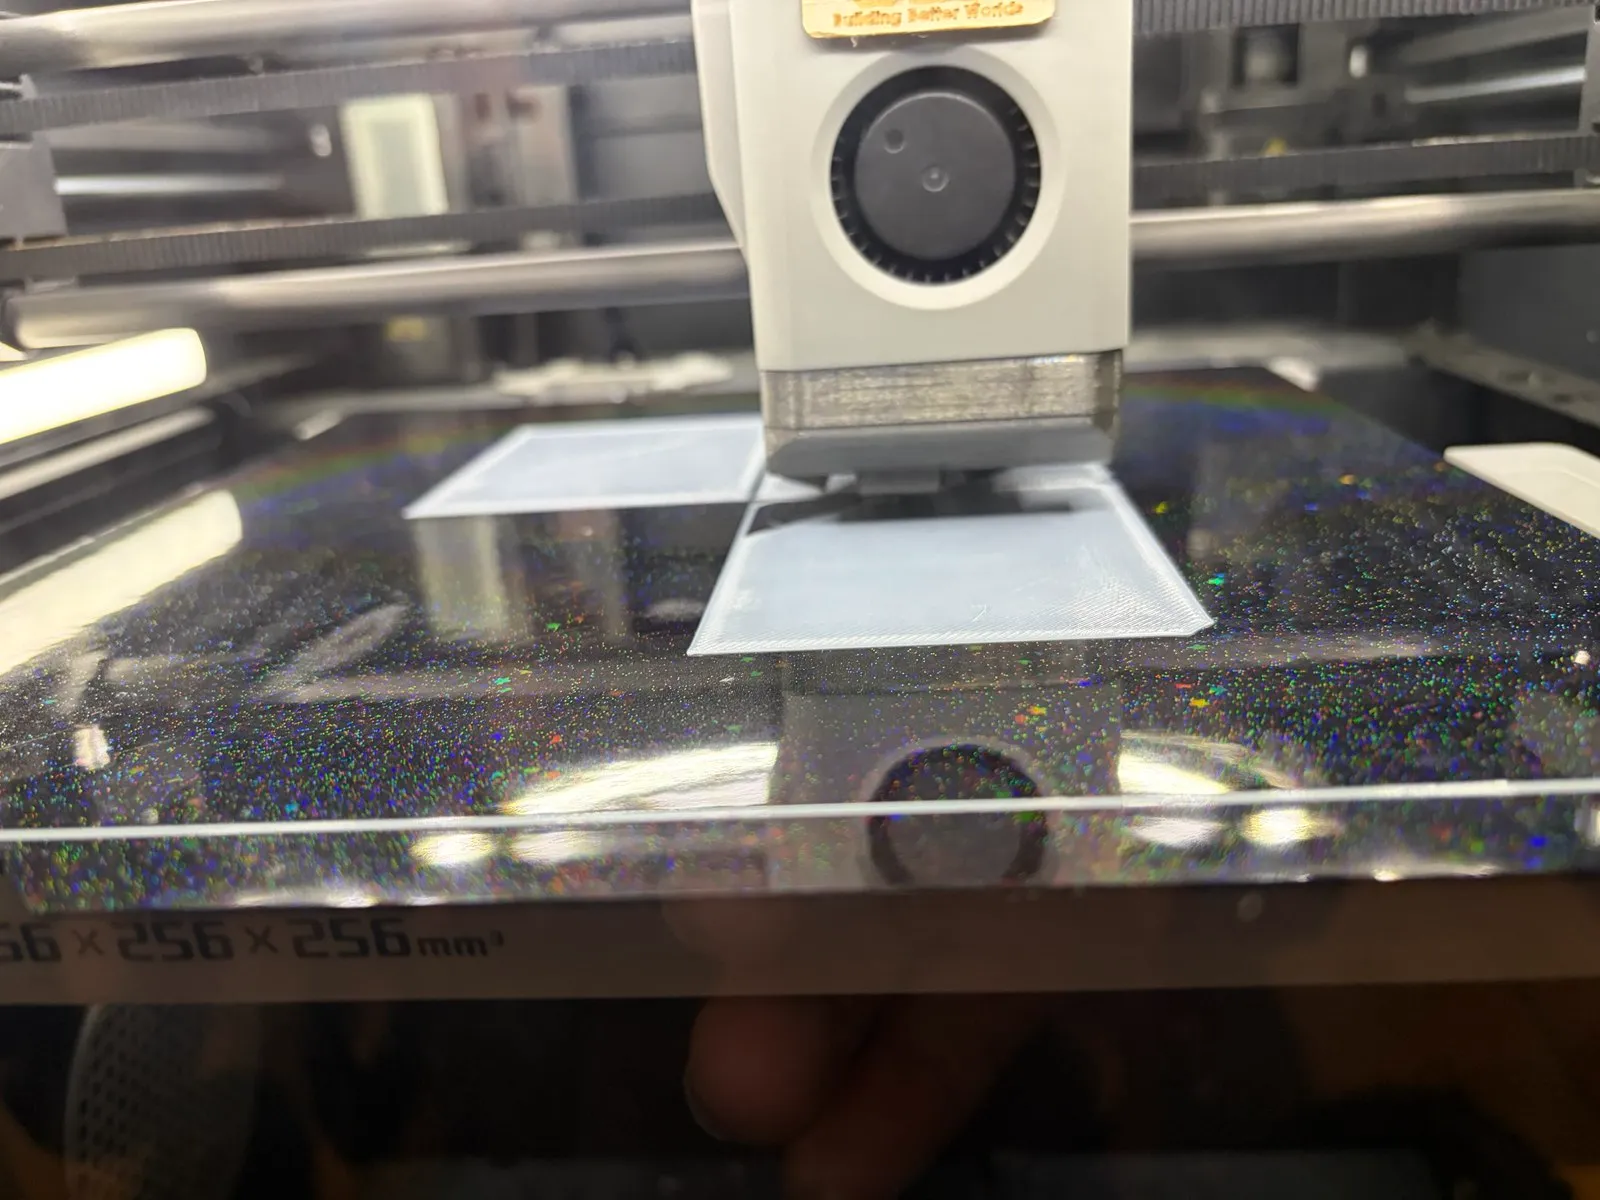
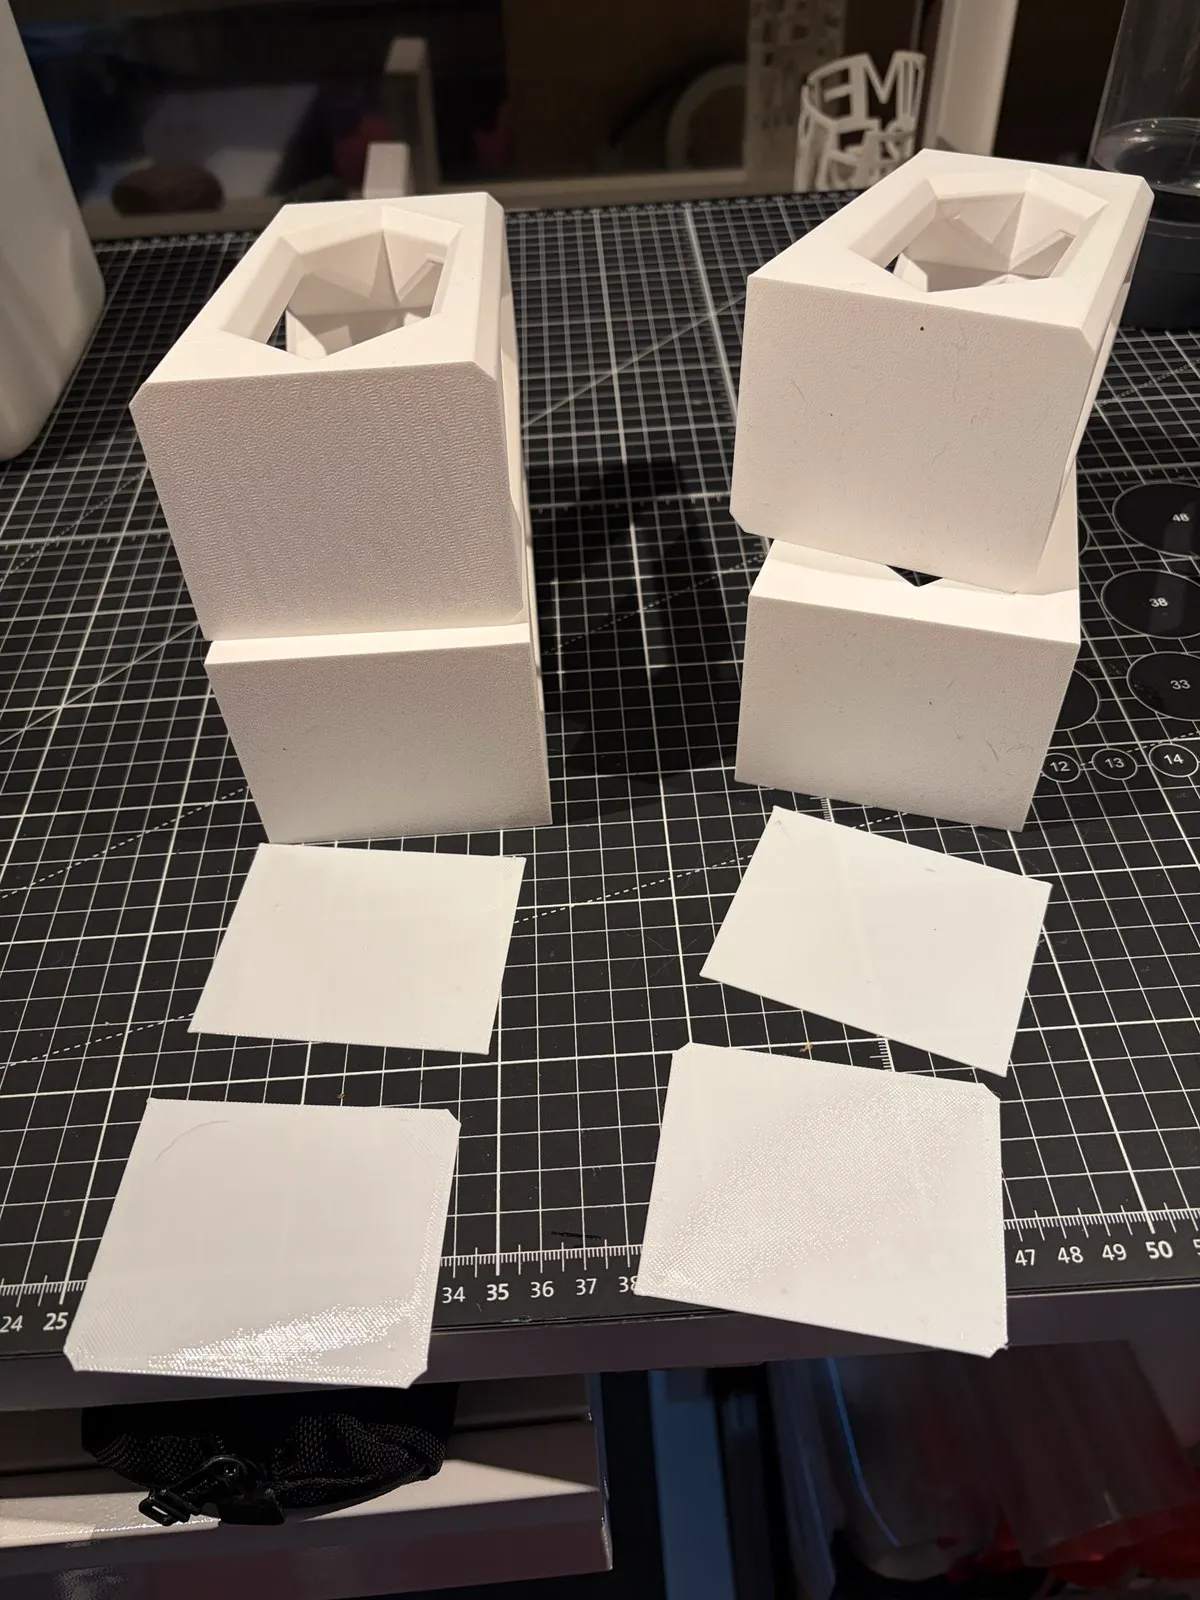
To further improve the performance of the riser feet, I incorporated TPU anti-vibration feet into the design. These TPU elements help to absorb vibrations and reduce noise, ensuring a stable and quiet setup for my laser cutter.
Integrating with the Workspace
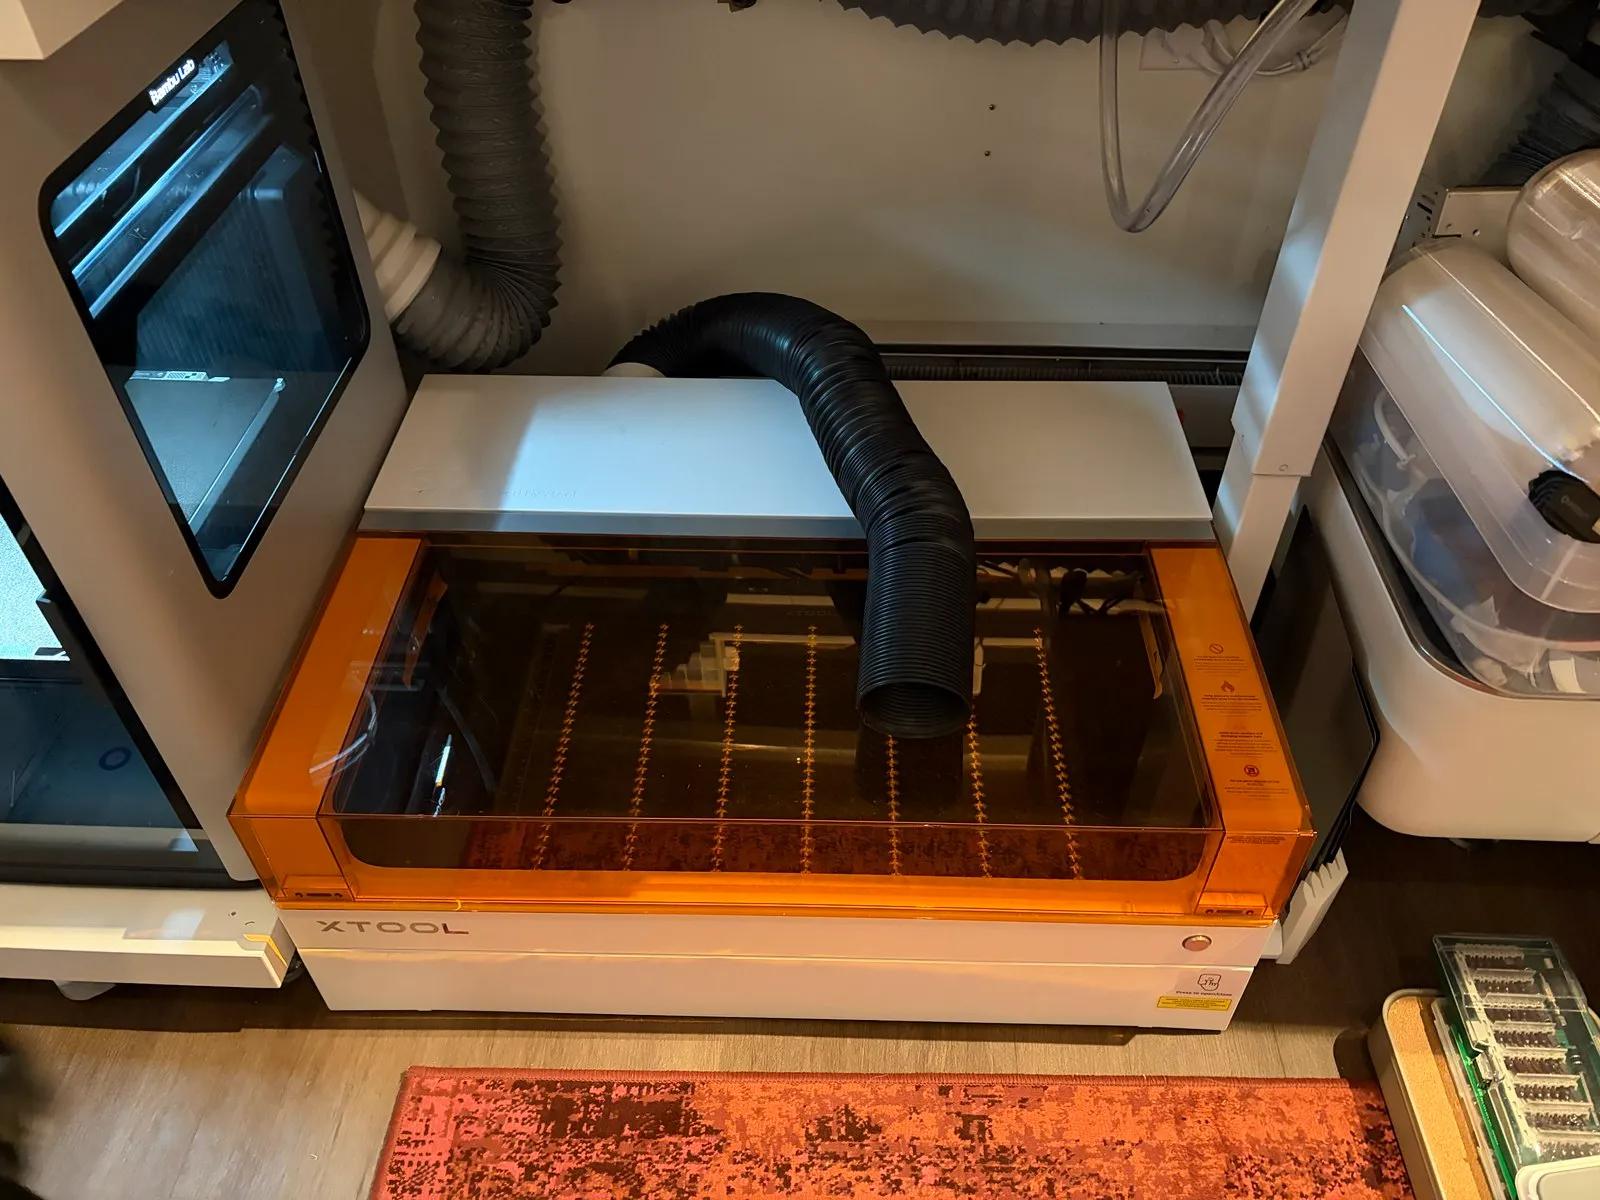
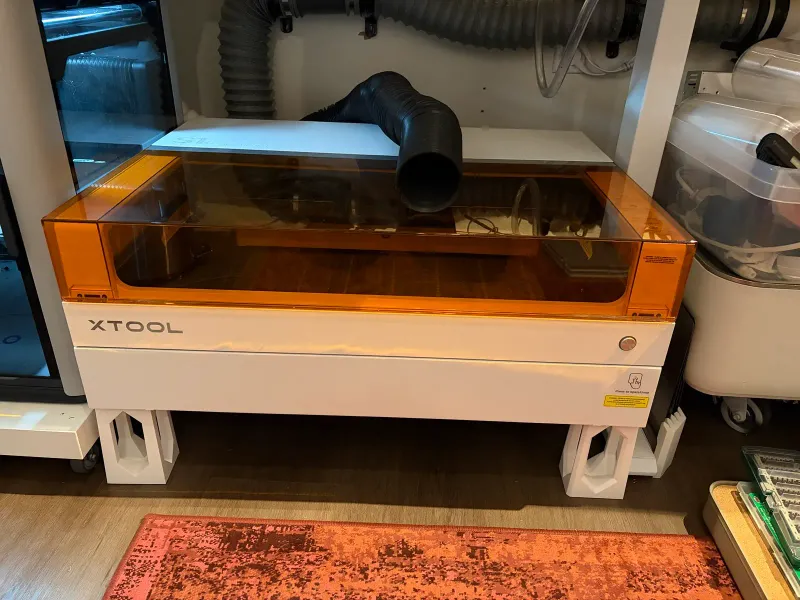
The primary motivation for this project was to create a more organized and efficient workspace. By raising the laser cutter, I was able to add valuable storage space underneath, allowing me to neatly store key tools and accessories related to both my laser cutting and 3D printing operations.
Moving forward, I plan to integrate additional storage solutions, such as labeled bins, to further enhance the organization and accessibility of my workspace.
Conclusion
By optimizing for efficiency, ease of printing, and workspace integration, I’ve been able to enhance the functionality and organization of my tech-driven workspace.
I’m always eager to share my experiences and insights with the community. If you have any questions or would like to explore similar projects, feel free to reach out. Let’s continue to push the boundaries of what’s possible through innovative engineering and design!
Reference Images